H : This adds a heading block to your slide overlay
Text : Shown as a set of lines, this represents that you can add free text to the slide overlay
Image: Add an image to the slide overlay
Button : Shown as a box with a single line in its centre, this will insert a button that can be used to reach elsewhere in the website or externally
Row : Shown as a box with two white panels, this will add a new row to your slide overlay with two equal columns in it that you can add content to.
We will look at each option below.
11.9.1 Add a Heading to the Overlay
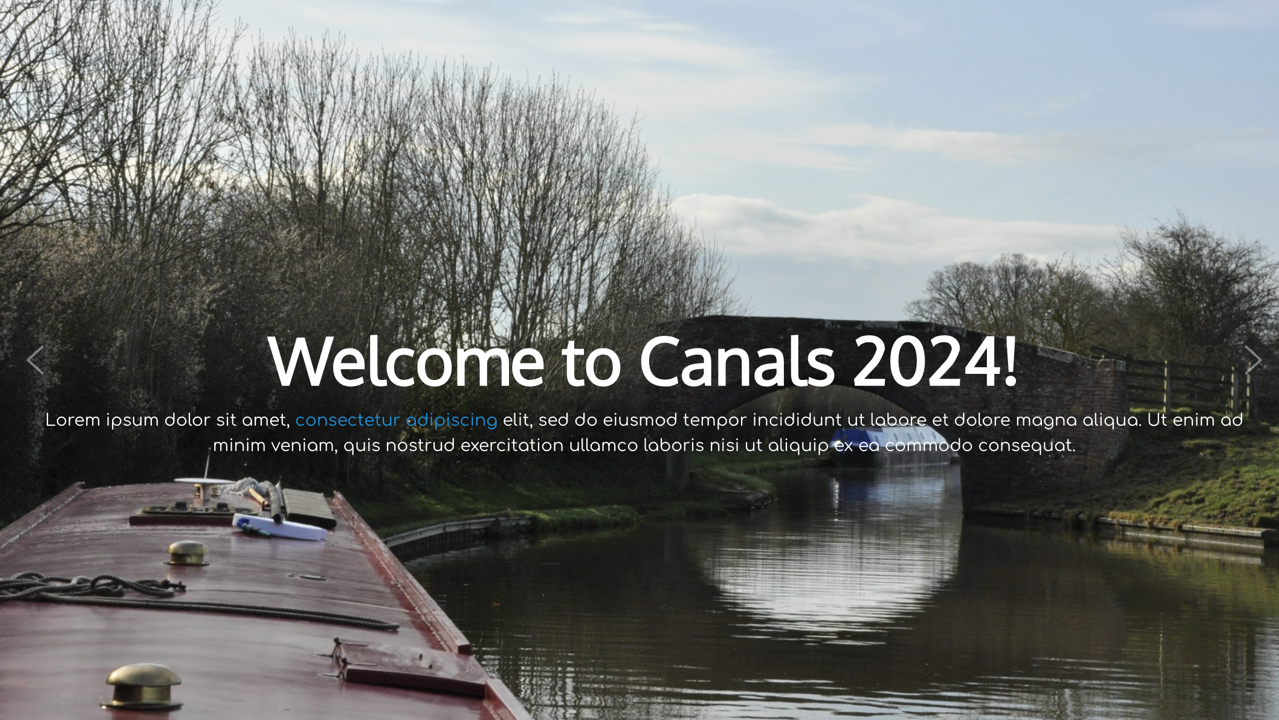
This is likely the first thing you will add to your slider. A Welcome banner in a heading style is a great place to start. To make our example easier we have set our Canal image as our first slide (we dragged it into first place) so we can see how text looks on top of it:
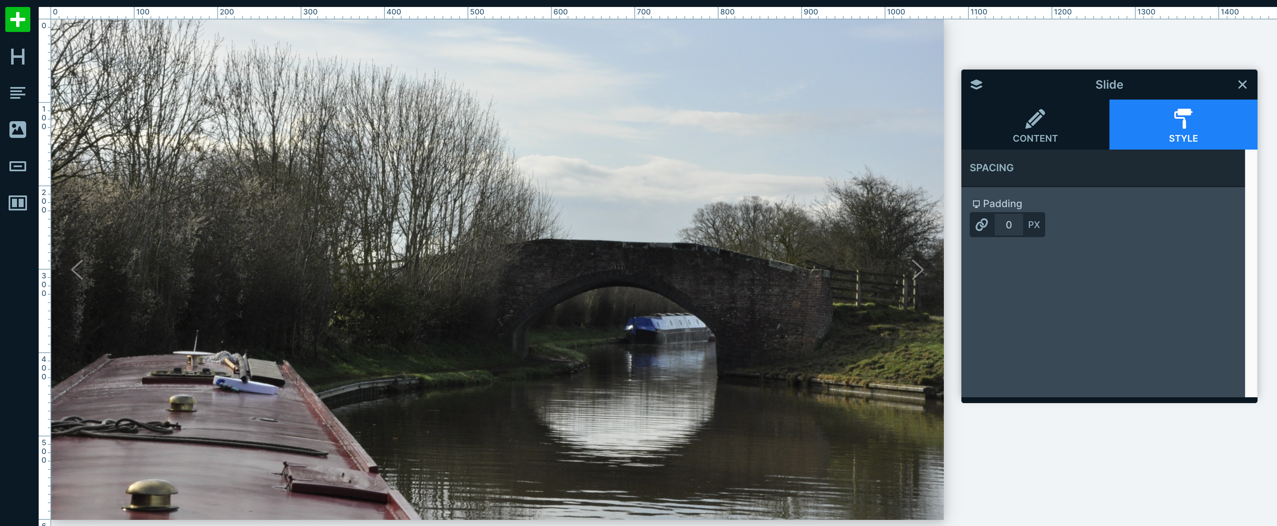
We have dragged the control box to the right so we can see all of the slide.
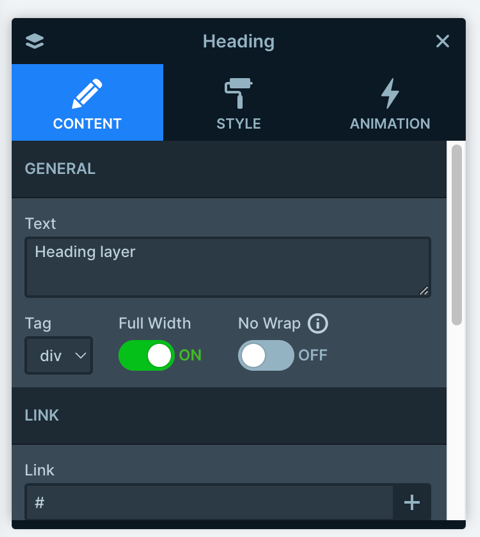
Now we click H in the toolbar and it automatically adds a layer with “Heading layer” in it as an overlay (cropped image below) :

If you now click the text, a blue border appears to show it is selected to be edited:

The control box now shows the ‘properties’ for the layer and this is where you can edit the text, size, font, colour and many other attributes. Let’s take a look at a few.
11.9.2 Text Title
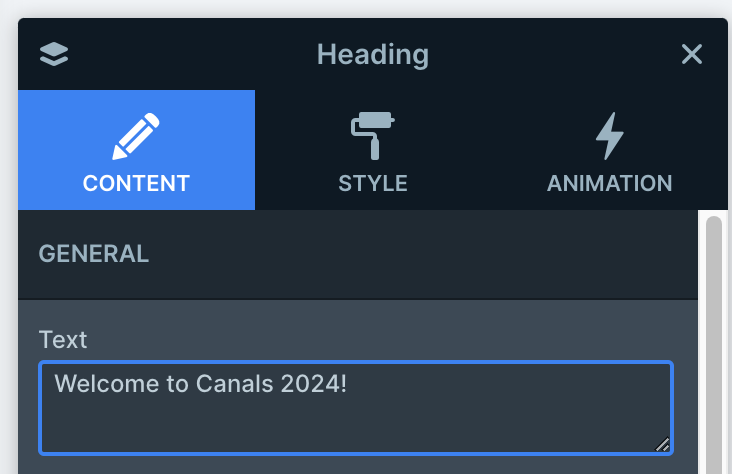
The text box shows the words being displayed on the overlay so we will change it to read “Welcome to Canals 2024!” by deleting the text in the text box and typing in our new required text.
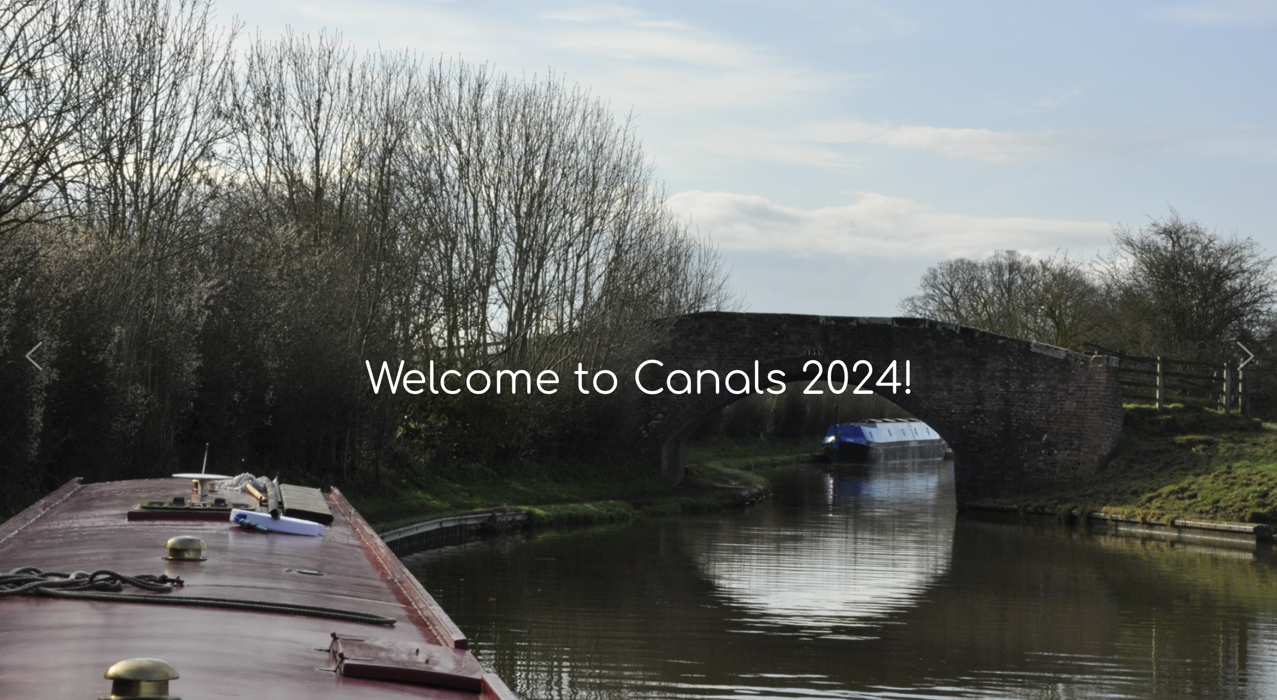
The resulting slide now looks like this:
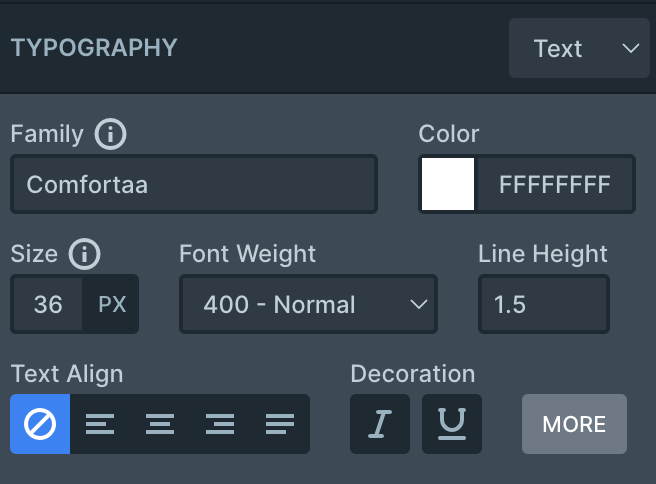
We might like to make the text larger or bolder. To do this, click on the Style icon (has a paint roller icon) to see a large set of options for the text style. The first area to look at is the TYPOGRAPHY section:
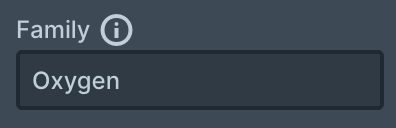
Here you can choose a different font by clicking into the Family field to see a drop down list of all available other fonts. If you choose a different font, the results will appear immediately in the slide panel. Let’s change the font to “Oxygen”:
The result looks like this:

To make the text bolder, use the “Font Weight” chooser. Make choices to see how they change the look of the text. Some will have little or no effect, other will have a major impact.

If you want the font to be larger, the Size chooser is used. The default font size for the heading is 36px as shown above. Let’s increase it to 54px:

Looks great!
Now how about we add some subtext under the heading!
11.9.3 Adding Subtext
Click the Text icon in the side toolbar (4 lines). This auto adds a block of text with “lorem ipsum” nonsense text it to show where it is and what it could look like. It also adds a hyperlink (in blue) for additional fun.
So far so good but the text is too small and the block it is in is too wide – its too close to the edges of the slide. Let’s fix that.
Click the text block to select it (it gets a blue border):

When you do this, the control box shows the content, just like it did for the heading, so now we can edit the text for our slider subtext.

11.9.4 Changing Font Size
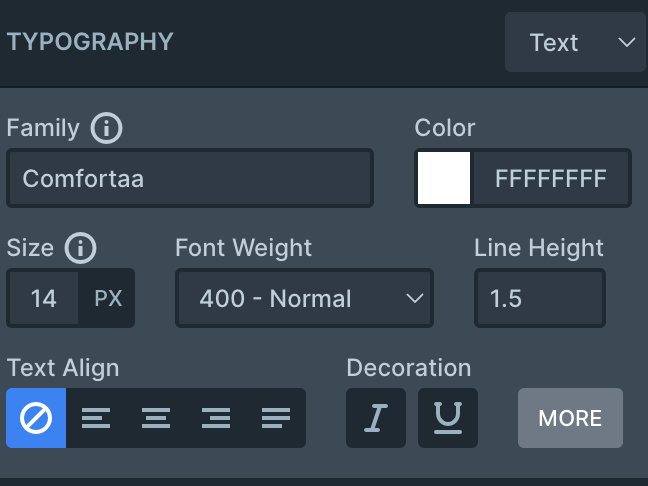
And now let’s increase the font size to make it easier to read using the Style icon.
We will change the font size from 14px to 28px:
...becomes:

11.9.5 Making the text block less wide
But now the text is a very wide section and it looks awkward so lets reduce the width of the text box to be more attractive. We can do this by eye by selecting the text block where you will see two white dots left and right of the block:

Click a white dot on left or right and drag it in to the middle of the side until you are happier with the way the text looks against the heading:
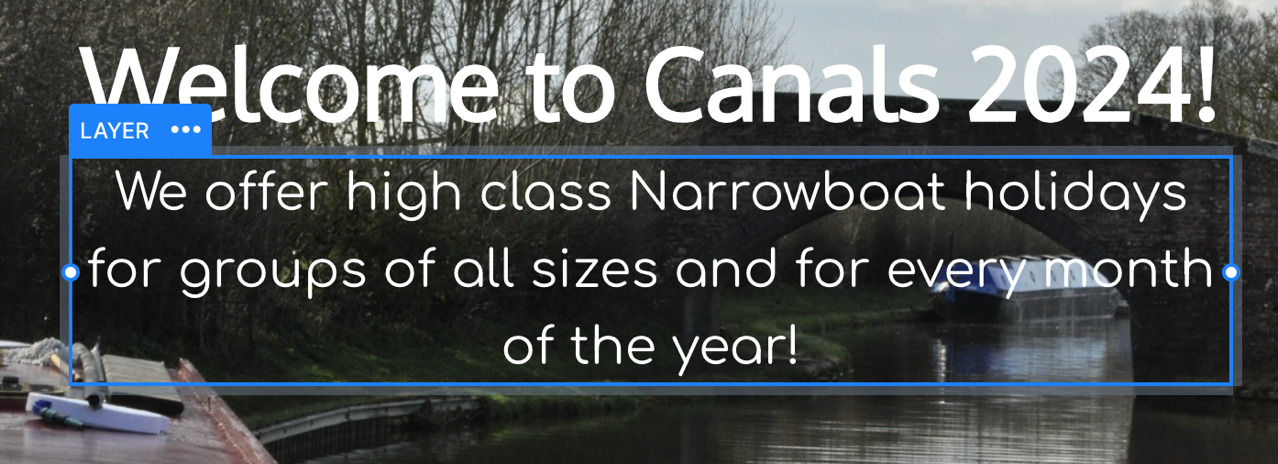
Now, the text block is the same width as the text in the heading block and looks much smarter!
At this stage we might decide we are completely happy with our overlay slide and so we can preview it!
11.9.6 Save & Preview your Overlay
First click Save in the top header row:

Now, to get a quick preview of your work, click the EYE icon in the same row. A page will pop up showing you your slide with the overlay in place.