In order to create a new user you will follow these steps:
Press the New button in the toolbar to open the new user panel where you can enter the user data.

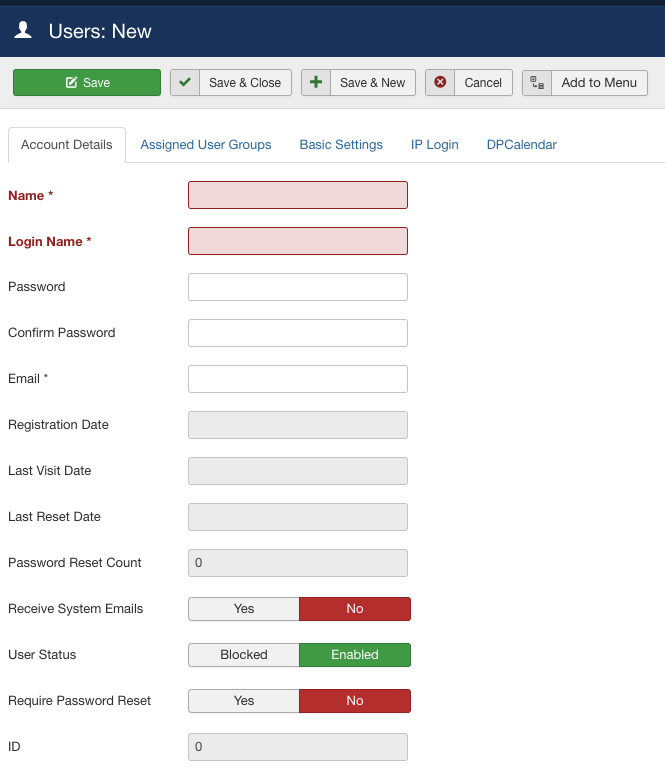
Now, fill in the user details:
15.2.1 Key Fields
- Name - this field will contain the user's real name, like John Smith
- Login Name - this would be the user or login name to be used to log in to the site, like jsmith or yellowbird67
- Password - here you can enter a password that will be sent automatically to the user so he or she can log in. A good rule of thumb for choosing a safe password is to use lower case letters together with capitals and numbers while having a minimum length of six characters. A good example would be p9HWc0Ak!
- Confirm Password - here you have to reenter the previously chosen password just to make sure there were no typos in the first one
- Email - The email address associated with this account (this should be a valid account)
- Receive System E-mails – Set this option to "No". Only the Super-Admin will want to see these.
- User Status - here you have the possibility to Block a previously created user account without deleting it. This option might be useful for blocking users until they (or you) take a certain action. Simply set this option to Blocked if you wish to disable the account.
- Require Password Reset – If set to ‘Yes’, the first time the user logs in, they will be prompted to input a new password.
15.2.2 Giving the User Permissions to Access the Administrator Control Panel
Use the Assigned User Groups tab to choose the Group to assign your user to. This is crucial for the site's security so pay attention when setting this up!
There is no golden-rule for choosing the user group except maybe for this one: "Keep the permissions as low as necessary".
Normally, you wouldn't want to assign the Super Administrator or even Administrator role to just anyone.
In 99% of the cases you will assign your users to the "Manager" group, thus only allowing them limited choices when logged in at the back end of the site.
If this user needs to fulfil ALL possible changes to the site, then a higher level of “Administrator” or the highest level “Super Administrator” will be appropriate. This last option has complete rights to affect the site. Below is a summary of the rights available to users at the back end of the website
15.2.3 Types of User
Manager
- Can create new items
- Can edit all other items, even those that are not published
- Can publish items
Administrator
- As Manager Group privileges plus…
- Can create new users
- Can install extensions
Super-Administrator
- Administrator privileges plus…
- Can change site template
- Can change global configuration
- You should leave the “Basic Settings” tab details as default
- You should leave the “User Profile ” tab details as default
Once you are done entering all the information above, click the Save & Close button.
The user will now receive an email (see below for example) with details of their new account.
Hello username1234,
You have been added as a User to [name of the site].
This email contains your username and password to log in to http://www.domainname.com/
Username: username1234
Password: yourpassword
Please do not respond to this message as it is automatically generated and is for information purposes only.
Assuming the account has not be set to “Blocked”, the new user will now be able to log in using the username and password you have set.