Please refer to the top series of buttons in the Article page. They looks slightly different between Joomla Version 3 and Version 4.
6.11.1 Joomla 3 Buttons

6.11.2 Joomla 4 Buttons

In Joomla 4, the developers minimised the number of buttons by providing a drop down option on the Save & Close button for Save & New and for Save as Copy. In general we only use the button itself and the drop down choice are only used for odd occasions.
6.11.3 Save Button
Click the Save button to save your changes but remain on the Article edit screen to make further changes.
When you perform a Save of any form, a green message will indicate that the article has been successfully saved.

If you have not completed something such as the Article Title or Category fields, a red error message such as that shown below will appear indicating the missing information.
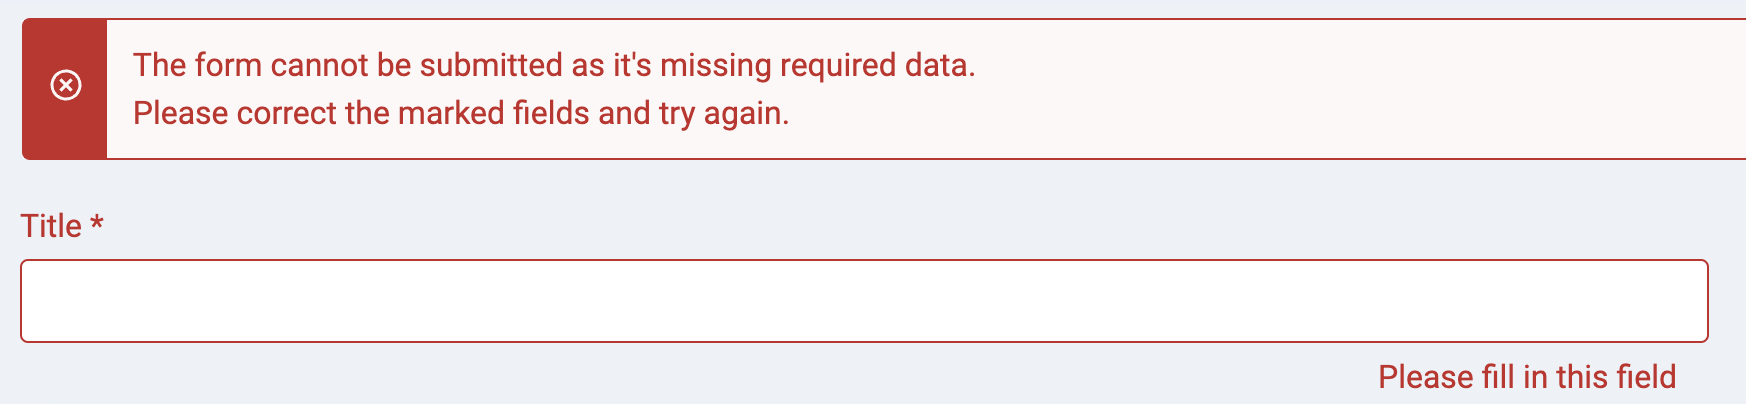
Correct the issue and Save as normal.
6.11.4 Save & Close Button
Click the Save & Close button to save your changes and return to the Article Manager screen.
6.11.5 Close Button
When you click the Close button, regardless of changes made, any unsaved work is lost and the article editor will close.
6.11.6 Versions Button
The Versions button is very useful! As you make changes to your article and save them, the database stores your versions so if you need to, you can revert to previous article versions. Let’s put this into context.
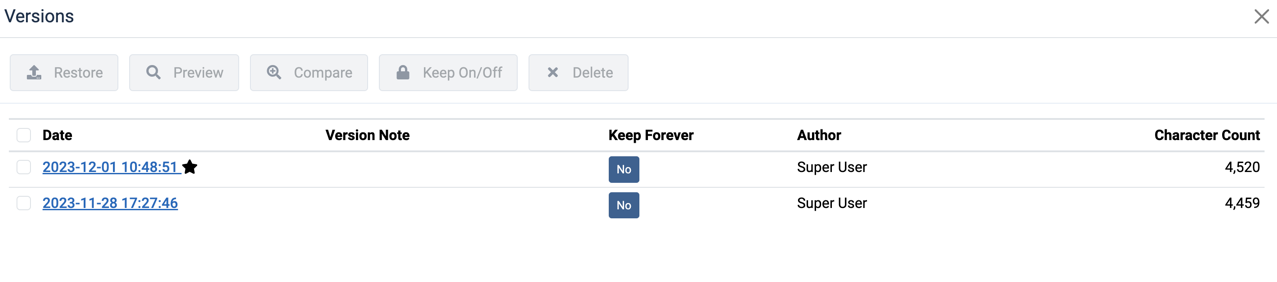
Inside the versions pop up box, you will see a list of dates you saved the article. To view how the article was on that a previous date, simply click on the date and information will open in a new window.
As you scroll down the panel you will notice that it doesn’t only display the main content of the article, it stores literally everything about it.
6.11.7 Restoring an Article to a Previous Version
Once you have found the version of the article you wish to revert back to, simply click the checkbox next to the date and click the “Restore” button.
Your page will reload back to how it was on your selected date.
To apply these changes, click “Save & Close”.
6.11.8 Comparing Versions of an Article
A great feature of content versioning is that if you want to compare two versions against each other you don’t have to manually restore the dates and look for the differences by eye.
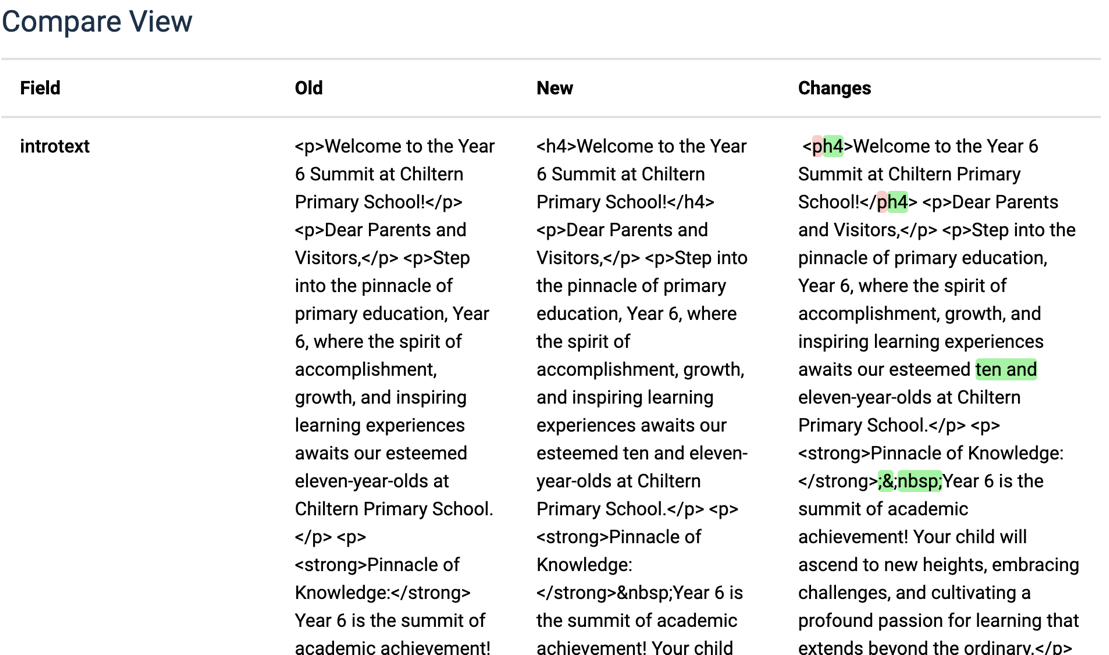
You simply select the checkbox of whatever two dates you want to compare and then click on the “Compare” button.
This will open a new window that shows the full content of both versions along with the differences between the two highlighted for ease of viewing.
6.11.9 How To Prevent an Article Version being Deleted
Once you have exceeded your “Maximum Versions” limit (set at 10 in the system configuration), Joomla will remove the oldest version to make space for the newest one.
If you want to ensure a chosen version doesn’t get deleted, all you need to do is click the “Keep On/Off” button on the date you want to keep – it should now say “Yes” in the Keep Forever column.

You can remove the Yes state easily by clicking the padlock. This will revert the Keep state to No.
6.11.10 Making a Note about the Version
Another useful of the feature of Content Versioning is the ability to add a Version Note. This allows you to write a short reminder or note about the article for reference.
This is done before you save the article, outside of the versions pop up box; and it is located in the article’s editor sidebar (to the right of the main content). You will see an input box entitled “Version Note”.
The Version Note can be very useful as it is visible inside the versions pop up box. So, taking a few seconds out when you make your next update could save you hours later on down the line.
6.11.11 Deleting old Versions
Lastly, if you want to delete an article version, this can be done through the Versions popup screen also. Click the checkbox of the date you wish to delete and click the “Delete” button.
This may be useful if you are trying to save some space but I would avoid being too gung-ho with this feature because once it’s gone, it’s gone!
6.11.12 Preview Button
When you create an article (or edit it), you might like to see what its like without having to go to the front end of the site to see what its like. This button will provide a pretty close reflection of what the page (including sidebars etc) looks like.
6.11.13 Accessibility Check
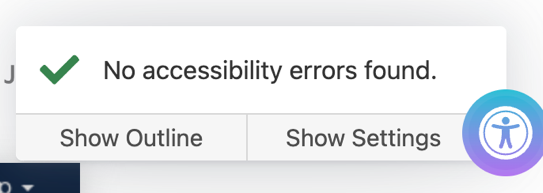
If being ultra compliant is your thing in terms of accessibility of your web pages being absolutely perfect for online readers and those with disabilities, the Accessibility Check will help you. When clicked, a preview of the page will be displayed and in the lower right corner you will see an icon for accessibility (human shape outline) with information about what the checker has discovered. See example below:

When you click on a red triangle that is reporting an error, it will reveal the reason and what to do to fix it:

I this instance it is recommending that the words Login Screen should be set to Heading 2 style and not Heading 3, because the page title is Heading 1.
You can close the checker and edit the errors and recheck until (all being well) you have no errors: