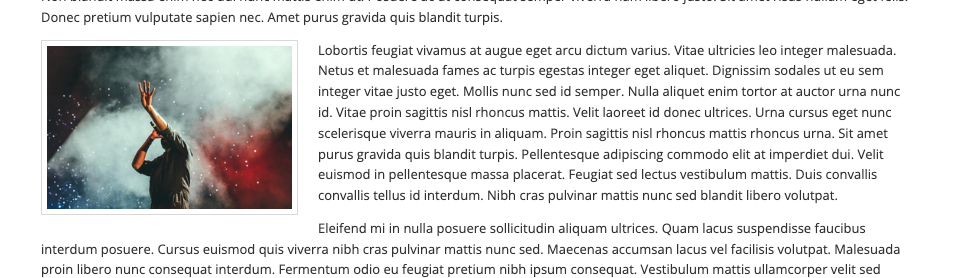
Let's start by understanding what this means! So here is an example where we have text in a page (article) and we have added a single image to the article that sits to the left and the text flows round it gracefully.
7.7.1 Insert a single Image
If you need to upload a new image, place your cursor at the START of the paragraph where you want it to appear, and then click the "Insert / Edit Image" icon in the article editor toolbar:
Hint: the icon looks like a picture with a gold star on it:
![]()
Bottom row of toolbar
![]()
Image button
This opens the "Image Manager Extended" window.
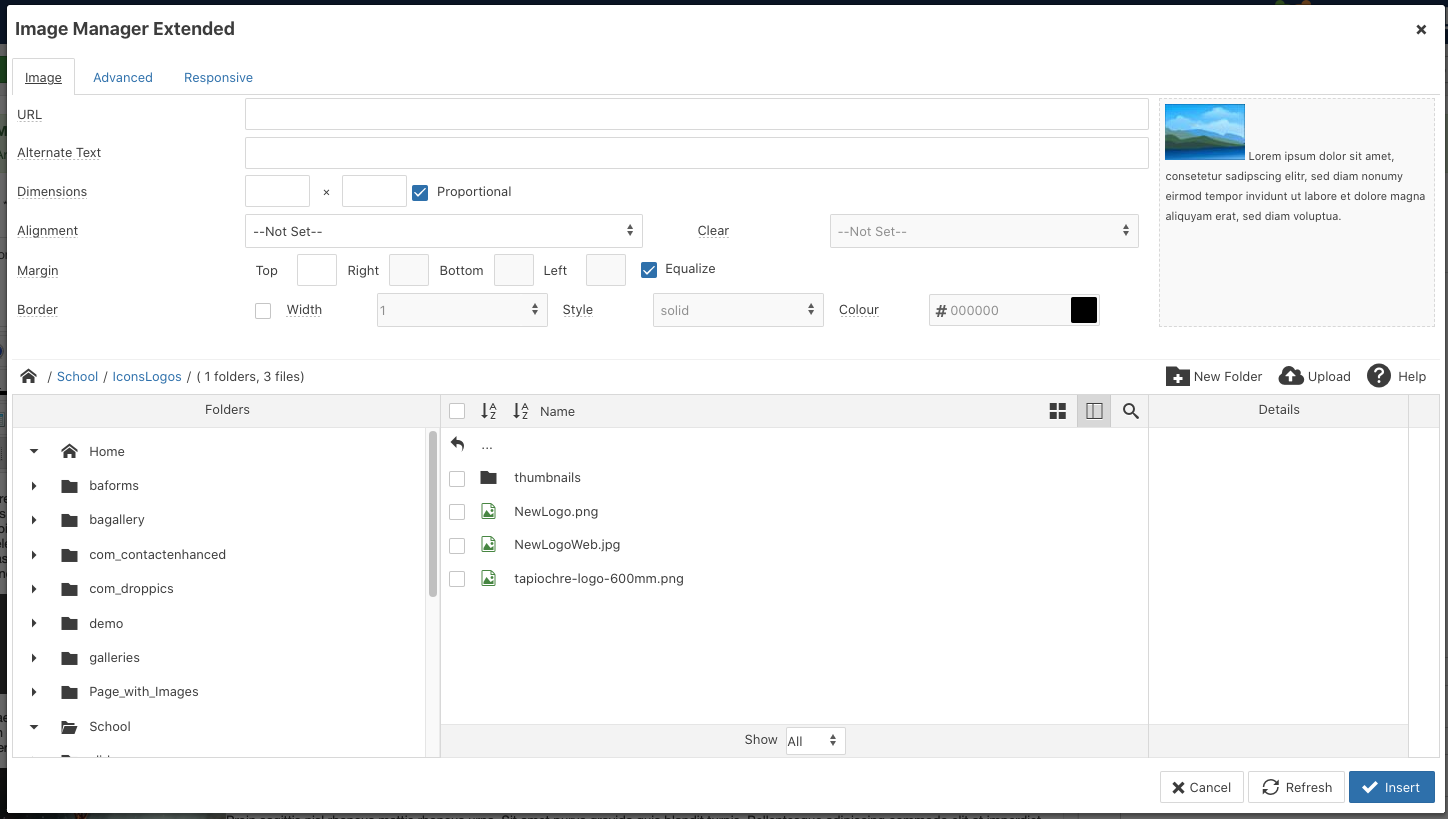
With the Image Manager Extended you can
- Upload images and resize and thumbnail them realtime, on upload
- Create folders to save your images in a very structured and sensible way
- Rename, cut, copy, paste and delete folders and images
- Create and delete image thumbnails
- Edit Images in the Image Editor
- Create Rollover images
- Create Image Popups (requires JCE MediaBox or a compatible JCE Popup Extension)
- Insert images into articles
Look at this pop up screen and you will see three columns:
Folders, Name, Details

7.7.2 Choosing the best folder for your new image
If you can, try to upload your new image into a suitably named folder. In this way, you can structure your images into suitably titled folders to help you find them again later if you need to.
Look in the Folders column to see if there is a folder which has a title related to your school (but it might not, so don't worry – you can always make one!)
If you find one, double click it to see what other folders are inside it, alongside any existing images which might have already been uploaded to that folder.
7.7.3 Creating a new image folder
If you cannot find a folder that’s been created for you already, you can create a new one.
Look above the Details column are three icons:
New Folder, Upload, Help
![]()
Click on the New Folder icon to create a new folder for your images. When you do this, a New Folder panel will appear where you can label your new empty folder:
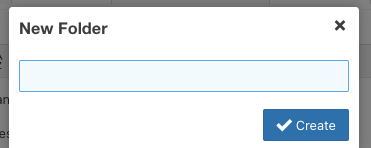
Type in a handy and memorable/meaningful name for your new folder, click Create and your new folder will appear in the middle column. You can now double-click to go into that folder to start uploading your images.
7.7.4 Upload a file
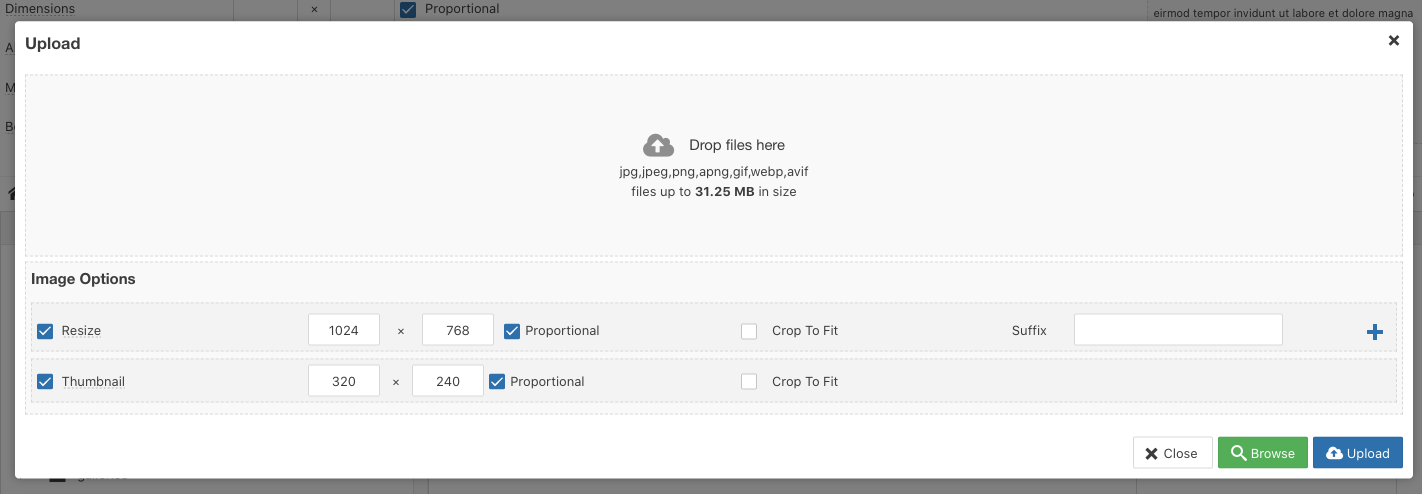
To upload a file into your selected folder, click the Upload button to open the Upload Dialog Panel
Now, click the Browse button and locate the target file(s)on your computer (multiple files can be selected and added at the same time).
Files can also be dragged and dropped into the upload dialog panel.
The files will be added to the upload queue. The name of files can be edited (click their name in the queue to do so) and a file can be removed from the queue by clicking the trash icon. If you rename a file, avoid spaces, use underscores or hyphens instead.
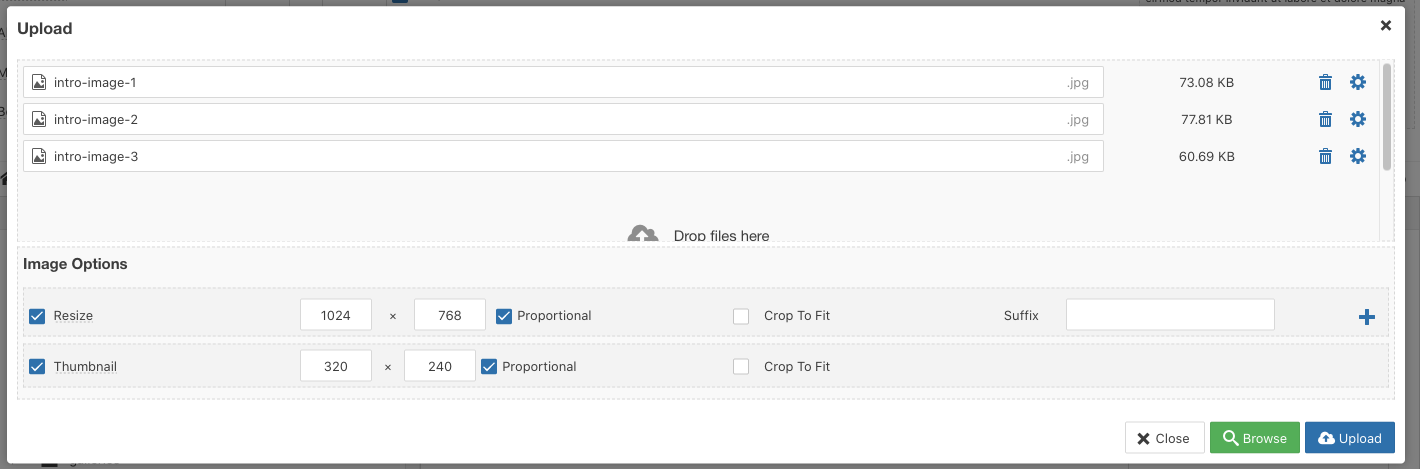
Note a few ticked options below the queue list? We will cover those shortly.
Now, click the Upload button to begin the upload. The progress of each upload will be displayed as a percentage and by the progress bar beneath each file. When all the files have been successfully uploaded, the dialog will close. If an upload fails, an error message will be displayed below the file name.
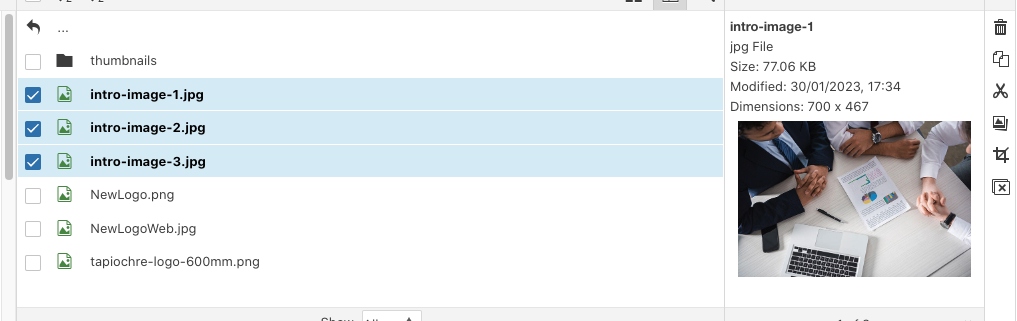
When your uploads have completed, the upload panel will disappear and you will see your files have been placed into the folder you created and will be selected.
7.7.5 The Image Options
Under the queue list are two rows of sizing options.
Earlier we referred to large images… here you can make use of the website’s own internal resizer!

7.7.6 Resize
The Resize option is great is one or more of your images is large. For example, if you are uploading 3 images and one is large, you can check the tick box next to Resize and then set values to tell the resizer what to resize larger images down to.

Above we have enabled resize for this upload and have configured the resizer to make any image that is greater in size than 1024 pixels wide to be exacly 1024px wide. The height will be scaled automatically to the correct size based on proportions of the source image so you don’t need to touch that field.
There are two supplementary fields:
- Crop to Fit
- Suffix
The Crop to fit option will look at the source image and crop it centrally to the size you set in the resize setting. Probably not ideal so we don’t use that option at all.
The Suffix option is provided so, when you click Upload the resized file will be created with a suffix you define. In this way, your source image is uploaded and the resized file as well but with a suffix added to the filename.