7.8.1 To Insert one Image
Select the image you uploaded in the File Browser section by clicking on its filename in the Name column.
When you do this, the file’s URL, its Alternate Text and Dimensions fields will be updated with the image properties. By default, the Alternate Text will be the filename. See an example below:
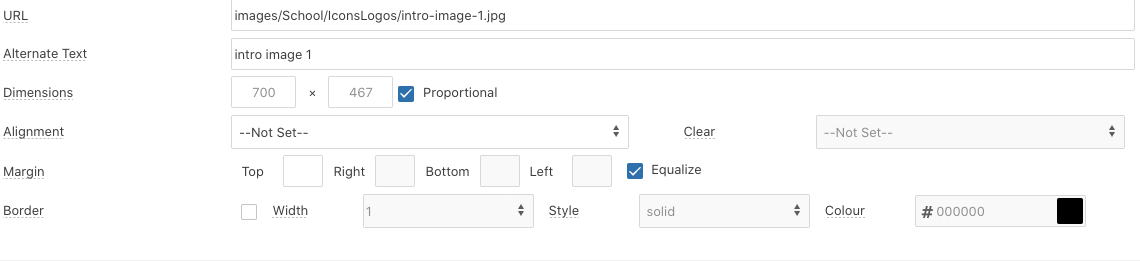
If you have to, you can adjust the properties (see below) as required then click the Insert button at the bottom of the dialog.

If you now Save your article and visit your page, you will see the effect of your work.
7.8.2 Making your image sit on the left or right of the page
When you insert your image, you will notice that you have the Alignment field. This alignment field is used to push the image to the left, the right, or to sit in the middle of your page. When you do this, the text will then wrap around your image just as it would in a newspaper layout.
![]()
![]()
![]()
Experiment with this idea to see how your page looks when you choose different types of alignment.
We usually apply handy hidden attributes to your added images when you set them to appear left and right such as padding space around them so you article text doesn’t site exactly against your image (which looks bad!). These are automatic settings.
7.8.3 Adding more than one image to an article
Our approach here is twofold:
- Put images across the article as long as you have loads of text to support the images.
- Add a gallery to support short text content
Adding a couple of images across a long web page is easy and you simply follow the guidelines above in “Add a Single Image”
Read on for adding a gallery to your article.