Dropics is a component that allows you to add photo galleries to your articles.
7.10.1 Starting with Droppics
You access the Droppics system by going via Components > Droppics. This will lead you to the ability to create new gallery folders and add images directly. You can also set up the way the galleries are displayed via this route.
7.10.2 How to add a gallery to your webpage
You need to be editing an article to do this!
The basic principle of adding a gallery to your webpage (i.e. within an article) is to place your cursor where you would like your gallery to sit and then use the Images - Droppics button which sits underneath the editor screen to then create and insert your gallery.

Clicking this button causes the Droppics application to appear in a popup screen where you can choose or add a gallery to add to your article.
As you will see above, gallery images are shown in folders; all you have to do is to select the folder you want to add to your webpage and click the blue Insert this gallery button which appears on the top of the right-hand column.
Note that this blue button is not visible to you if you have accessed the Droppics system via the Component route!!
7.10.3 Using the Droppics System
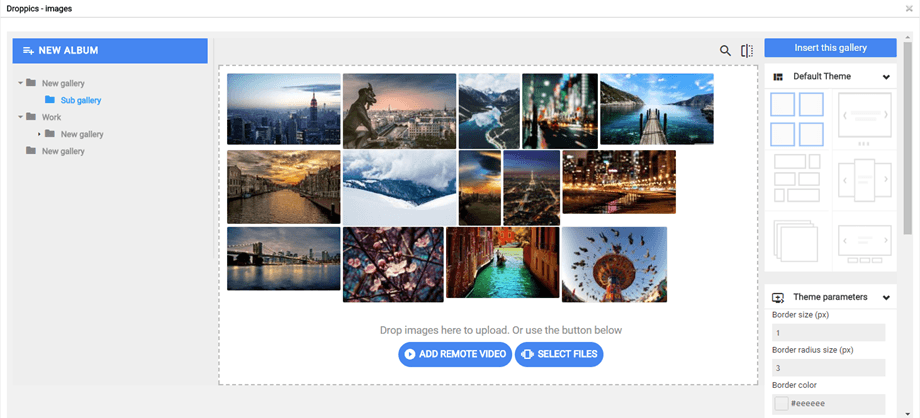
Whether you access Droppics by going via the Components route or via the Article route, when you first open Droppics, you will notice it is split into three columns:

The first column is where you will see folders and each folder represents a set of images. The application calls these albums (which we think is a little bit confusing because otherwise we think they ought to be called galleries!).
You can create as many albums as you wish and each should have a unique name so that you can quickly identify it amongst its peers.
We use a standard naming plan for these album folders:
MMYY-WEBNAME-ARTICLE
Eg: 1223-YR6-HUNTING_FOR_SNARK
Using this model for naming your folders helps you to know which year and month the folder is related to and also the part of the website where the folder of images would be found. This makes it easier in the future to delete old gallery folders!
The second column is where you'll see the images inside the selected album. You can add portrait or landscape images to this space by dragging and dropping them or by using the blue Select Files button.
The third and final column is where you will choose how the album will be displayed as a gallery by selecting one of the six available themes. The default theme which looks like four squares is ideal for most purposes but sometimes if the images are a mixture of portrait and landscape oriented photographs, then the masonry layout will be more appropriate. We can help you choose the best one!
This third column is also used to make choices about how each image appears, for example, you will regularly use this third column to define the caption for the chosen image. Other options are available here but are not used regularly so don't worry about them!
7.10.4 Creating new albums
New albums are created by clicking on the blue New Album button on the top left of the Droppics panel:

When you do this, the system automatically creates a new folder for you at the top of the list and it will be labelled as "New gallery".
7.10.5 Renaming the folder
To rename a folder, hover your mouse over the folder name to see two small icons, one is a pen and the other is a trashcan. Click on the pen icon to see that you can now rename the folder to something more suitable for your use. Try to create original and unique folder names so that you can spot them later when you use them! See our plan above for a recommendation.
![]()
7.10.6 Deleting a folder
To delete a folder and all its contents, hover your mouse over the folder and click the trashcan icon. You will see a warning notice asking you to confirm that you wish to delete the selected folder. Click okay to do so.
7.10.7 Adding images to your gallery folder
You can add images to your folder at any time either by clicking on the blue Select Files button or by dragging and dropping images into the dotted space, drop the image over the words "Drop images here to upload" to be sure!
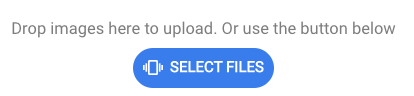
If when you drag-and-drop files into that dotted area you find that the files do not upload (i.e. nothing happens) then try again and drop the images directly over the words "Drop images here to upload".
7.10.8 Uploading Large images
If you upload large files (files that are greater than 2MB), you may experience a situation where the upload appears to ‘stall’ and the image upload will look a little like this:
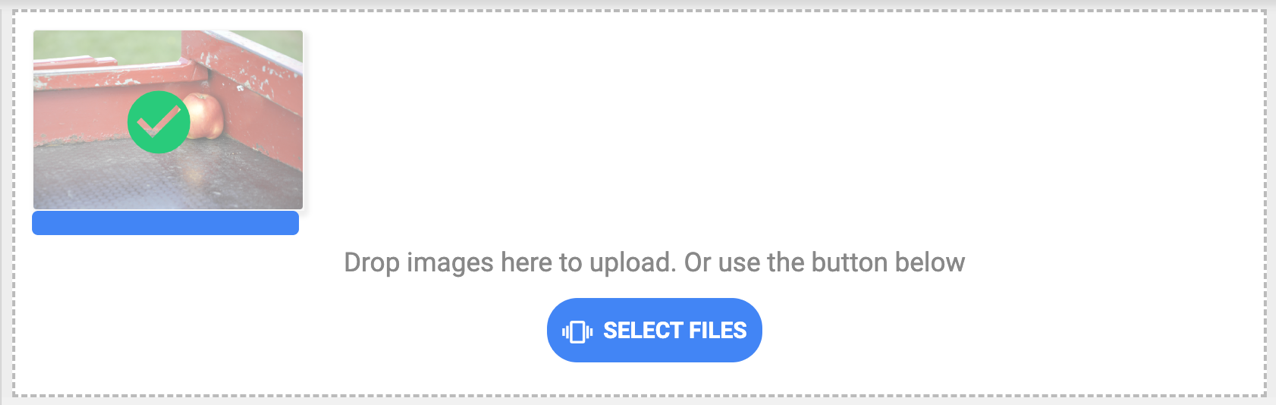
Note the green tick. This means the file has been uploaded but the blue progress bar remains. This is the server’s way to show that the large file is being processed and resized to be more web friendly. If the progress bar never disappears, you will need to resize your images using online tools (see earlier our section about Optimising Images to help in this process before retying the upload.
7.10.9 Putting images in a different order
It is very easy to put images in a different sequence than the ones shown when you first upload them. For example, you may have a group of images of staff members and you want to show them in alphabetical order. When you upload them it's highly unlikely that they will be in alphabetical order and so you need a simple way of putting them in the right sequence. All you have to do is to select and drag and drop the imags into the right place. You can do this over and over again until all images are in the sequence you wish them to be shown in.
7.10.10 Adding a Caption to an image
Sometimes, but not always, you may need to add a caption to an image. An example of this is where you have images of staff members and you wish to put their names or titles underneath the image. To do this, select the image and the right-hand column will change to show the properties of the image.
Then, scroll down the right-hand column to see the section for Caption:
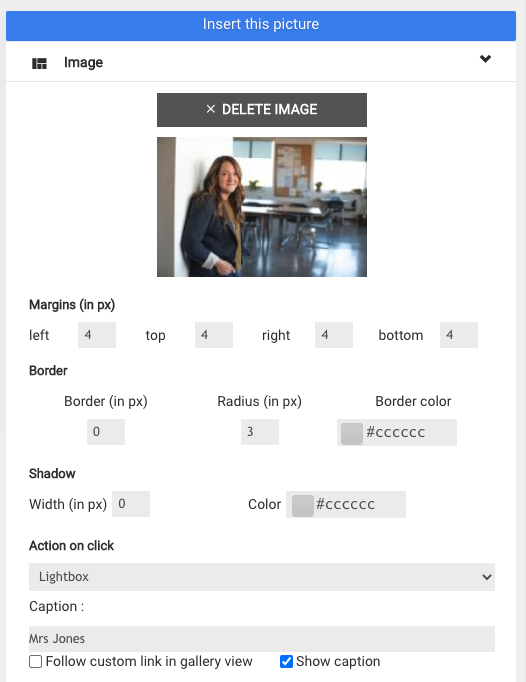
Type in the words you want to show as the caption for the image and then tick the Show Caption tick box to enable the caption to be displayed.
Then, scroll down and click the blue Save Options button.
Note: There is no feature for a description for your image therefore always try and keep the caption brief. If your caption is very long it will start to obscure the image when it is shown in the front of the website.
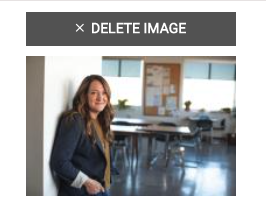
7.10.11 Deleting an image
To delete an image from a folder simply select the image in question and the right-hand column will appear with the properties for the image. At the top of this column you will see a Delete Image button. Click this button to delete the image from the folder.