Adding and changing single files or (better) whole Categories of files to webpage articles or modules is actually very simple. You will likely need to do this if you need to show a list of files such as newsletters or policies on page of the website.
8.7.1 Adding a single or standalone file
To add a single file, (rather than a whole a folder's content) into an article (eg: to add a single Policy into an article), you do this by editing your article first.
Go to Content > Articles and open the article in question in edit mode.
In your article editor, click where you want the file to be shown, we think it’s a good idea for these to be on a line of their own, then click the "Files - Dropfiles" button which you will find below the editor window.
Note that the Dropfiles button might be in a different position on different websites!

Clicking this button opens up Dropfiles in a pop-up window.
Now, from the left hand column, select the Folder where your chosen file is stored and then click on your desired File in the centre panel to select it.
Now, click "INSERT THIS FILE" which appears at the top of the right hand panel to add the selected file into your article editor.

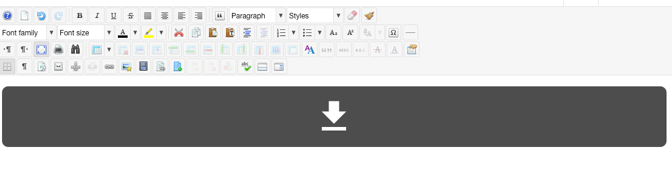
You will be returned to the article editor and your 'file' will be shown as a placeholder (a black panel with a download icon in the middle), within the editor.
Now, if you have ended the desired changes for your article, click Save and Close and take a look at the results in the live website.
The single file will be shown as a coloured link box within your article:

8.7.2 Changing a single file on a page
You can change a file that is displayed in isolation on a page as described above. The most effective way is to use the Send a new Version option for the file (see above for how to use Working with File Versions).
8.7.3 Adding a single file to look better in article
Above, we saw how we can add a single file to an article but we notice that the display for that single file does not match how files are shown when we display entire folders of files.
For example, if you show entire folders of files on the web page they might look something like this:

Or like this:
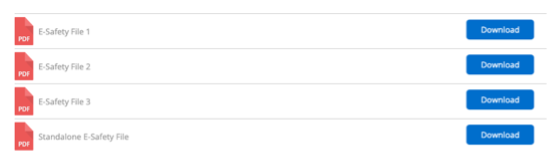
This is where we are showing then type category in table view.
So, if you want to show a single file so that it appears as in the couple of graphics above, then the file in question will need to belong to a folder of its own. You can then (following the principles in Section 8.7.4 below) add this folder to the article.
When you do this, you will simply create a new folder which will hold a clone of the file you want to display on its own. Give the folder a suitable title (maybe include the word clone in its name) and then set it to appear as a table or simplex view.
Then, go and select the source file that you want to display on its own from whichever folder it lives in and once it is selected, use the right hand column properties for the selected file and scroll down to the Multi-Category chooser. Now, in the Multi-Category chooser, select the name of the new clone folder that you created so that a link is created folder (be sure to hit the Enter key to lock your choice in and then Save the configuration.
Now, go back to the ‘clone’ folder – if you click it, you should see a copy of the file has been added to this folder. With the folder selected, now you can use the insert this category button at the top of the right hand column to insert it into your article, when you are editing your article.
8.7.4 Adding an entire folder of files to an article
To add a list of all files from a category of files into your article (for example: to add the full list of files in the Newsletters category into the article), click where you want the list of files to appear in your article editor for your Newsletters article, then click the ‘Files – Dropfiles” button, which opens up DropFiles in a pop-up window.
![]()
Now, select the category where your chosen files are stored and click “INSERT THIS CATEGORY” at the top of the right panel to add the selected Category into your article editor.

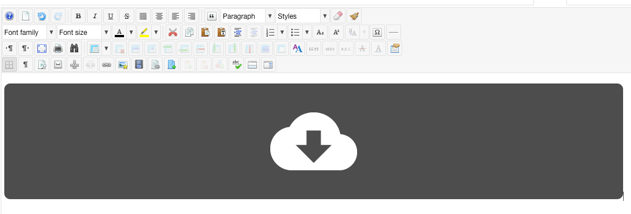
The folder will appear in your article as a grey placeholder with a cloud style download icon.
When you save and close the article and when the website is displayed in the front end, the placeholder is exchanged for a list of download files from your chosen category.