Note: We are in the process of phasing out Simply Image Gallery Pro (source developer no longer providing updates). If you want to add a web gallery to a page we recommend using DropPics which is easy to use and is described in this section (see sidebar)
The basic principle of adding a gallery to your webpage ( i.e., within an article) is to place your cursor where you would like your gallery to sit and then use the Simple Image Gallery Pro (SigPro) button which sits underneath the editor screen to then insert your gallery.

Clicking this button causes the SigPro application to appear in a popup screen where you can choose the gallery to add to your article.
The system will now put you into your own personal gallery area which is based on your login username. Depending upon whether Galleries have already been created, you may see one or more existing gallery thumbnail images.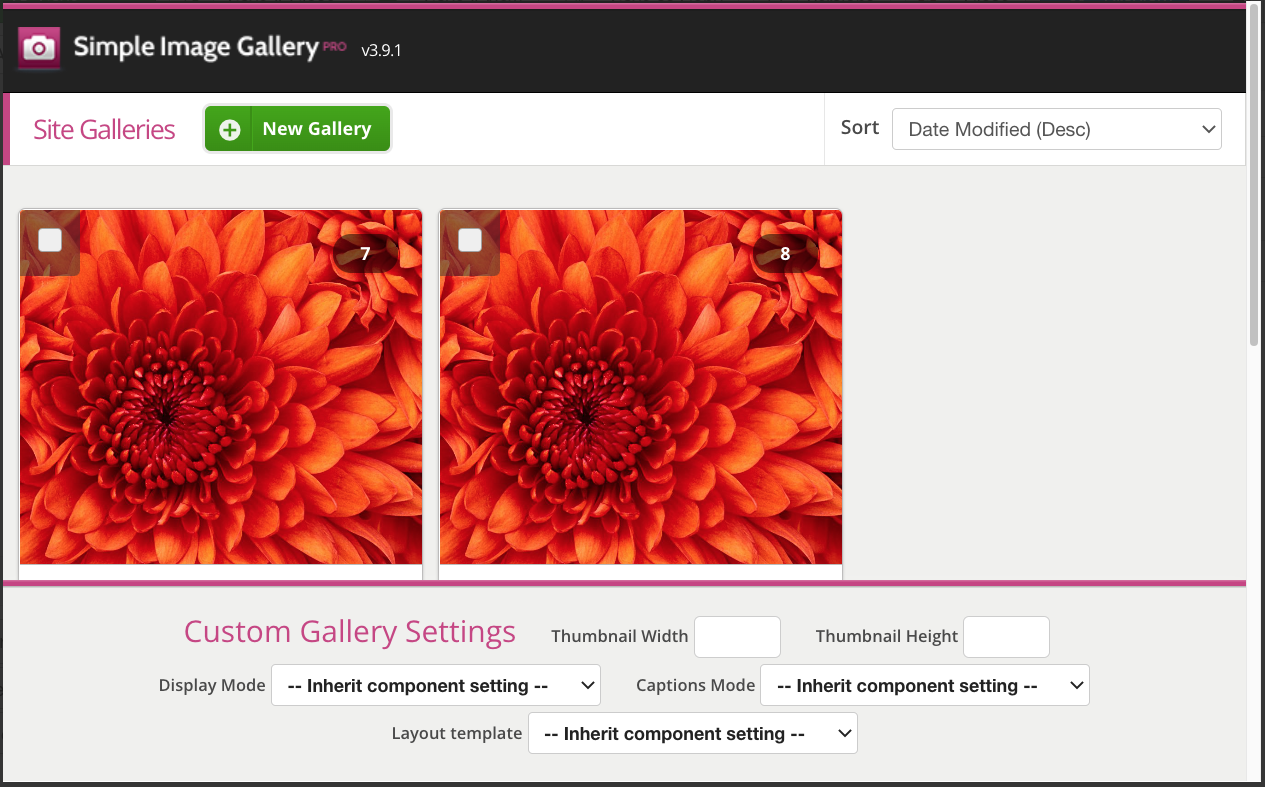
If you have never added galleries before then the system will tell you that no galleries exist. In either case, at the top of the page you'll see a green button labelled New Gallery.

14.1.1 Naming your gallery folder
Click this button which causes a pop-up window to appear asking you to enter a folder name.
Use the Month and Year in your folder name
It's highly recommended that you prefix the title with the month and year when you are adding the gallery.
Use the Article Title for the Folder Name
It's also a great idea to use the same name as your article so, if your article is called September Conker Adventure, then you would use the same title as the folder name for your gallery. So, ultimately if it is July 2022, you would have a folder name as follows:

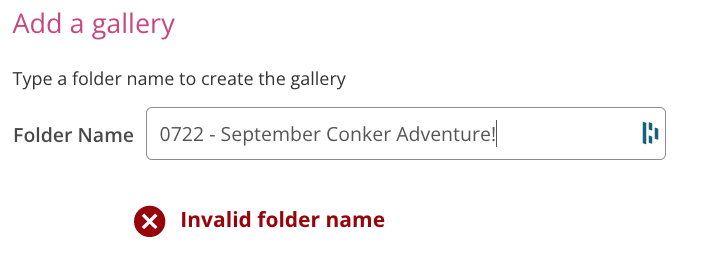
When you click the Proceed button, the system will check if your folder name already exists and will also check for any invalid characters in your folder name. For example, the system will not allow characters such as full stops and commas and other punctuation marks your file name if it finds one of these, you will see an error such as below where we have added an exclamation mark at the end of the folder name.
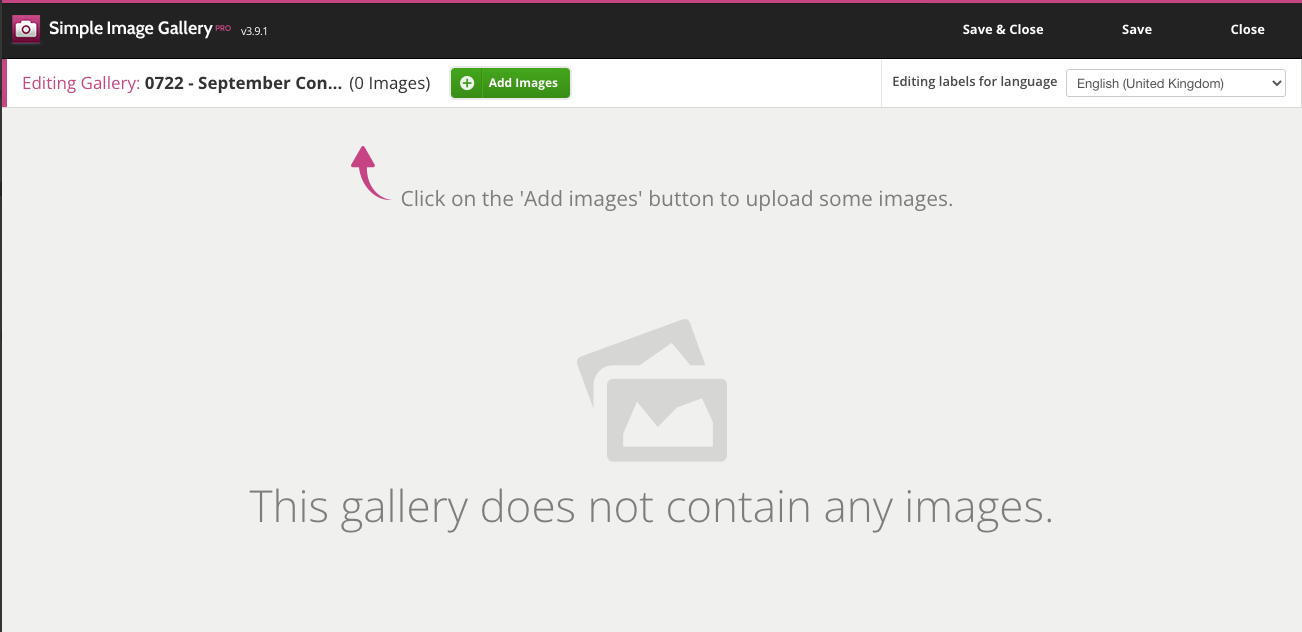
If all is well, you click the Proceed bottom, the new screen will appear reporting that "This gallery does not contain any images", and you will be prompted to click the green Add Images button so that you can upload some images:
14.1.2 Adding your images to the folder
Click the green Add Images button. Another new pop-up appears allowing you to drag and drop or select files from your device/PC into the grey area where it says Drag Files Here. See the image below.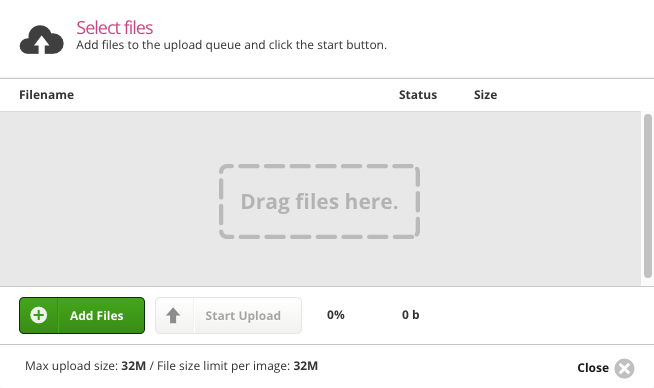
Rather then drag and drop your files, if you prefer you can click the green Add Files button to navigate your device/PC and find / select the files that you are interested in for your gallery. When you have either dragged and dropped your files or select them, they'll be shown in a list: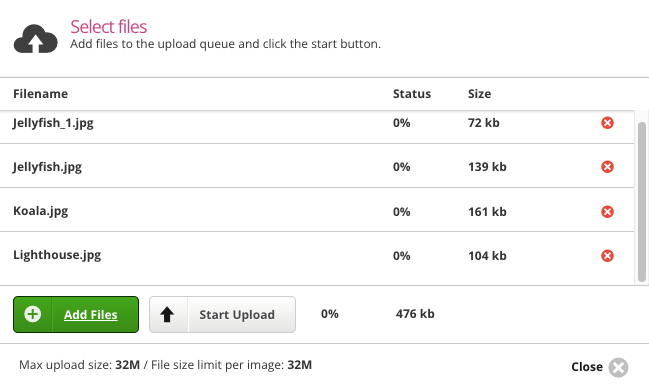 .
.
If you need to, you can delete images from this list by using the red X icons against each image.
Now, click the grey Start Upload button and the pictures will be uploaded from your computer into the folder that you created.
You will see the images appear behind the upload window. When all the files have been uploaded, you can close the window (use the black X button) and you will see your gallery images displayed.
Again here, if you need to, you can delete images from the gallery by using the tick boxes on each image and then click the Delete link above the images.
Note that you can also delete images by clicking the trashcan icon in the lower right corner of an image.
14.1.3 Adding Titles and Descriptions (Optional)
Each image can have a short (4-5 words) title and under the title, you can also add a description. The description should be short and to the point!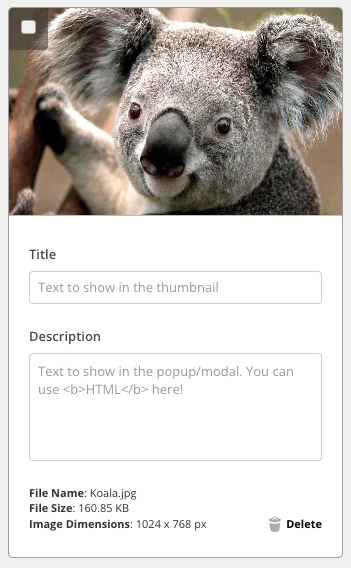
Note that this step is optional – titles and descriptions are useful but not essential, but they are really useful if your images relate to different parts of your blog post!
If/when you have added titles and descriptions you can now click the Save and Close button in the top corner:
You have now created your gallery of images and it is represented as a single thumbnail image of the first image in the gallery. This is purely a representation of the gallery and the gallery thumbnail will show you a number in the top right to confirm the quantity of images in your gallery. (Note by the way that images are sorted alphabetically).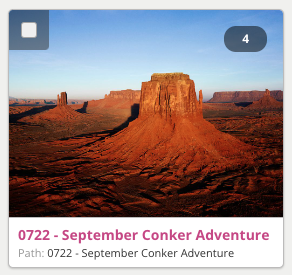
14.1.4 Inserting your Gallery into your article
Once you have created your gallery and you can see the thumbnail representation you can now insert it into your article. To do this, hover your mouse over the thumbnail and you'll see that two icons appear, overlaid on top of the thumbnail, labelled Insert and View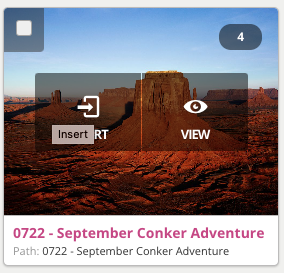
The view option is used to look at the images in the folder so that you can either delete them, add new ones or amend any titles or descriptions. See below for Editing your Gallery.
Click on the insert option and your gallery short code will be added to your article (the Simple Image Gallery Pro panels will close and will return you to your article).
The short code which is added to your article will have a specific format such as {gallery}foldername{/gallery}
This shortcode is used by the website when it is being viewed by the public. It instructs the webpage to load whatever images are found in the folder defined between the two {gallery} markers.

14.1.5 Editing your gallery
Even after you have published your gallery on your page, you can still return and edit it and you can do this in two ways:
Method 1: Simply go to the article which contains your gallery and click on the SigPro button at the bottom of the editor panel.
Hover your mouse over your chosen gallery and click the “View” icon. You can then make changes to your gallery by adding new images, deleting existing images, adding titles and descriptions. When you have finished making your changes, click Save and Close.
You don’t need to make any changes to the article itself so you can simply save and close the article
Method 2: The other way to edit the images in your gallery is to go directly to the gallery component itself.
Click on Components >> Simple Image Gallery Pro. Again this will present you with all your galleries and you can then follow the same procedure as for method one in order to edit your images in any particular gallery. Note that this method means you don't have to touch the articles at all!