In the unlikely event that you do need to restore a backup due to a critical failure, follow these actions and screens.
In the Akeeba Control Panel, You will see a section for Basic Operations:
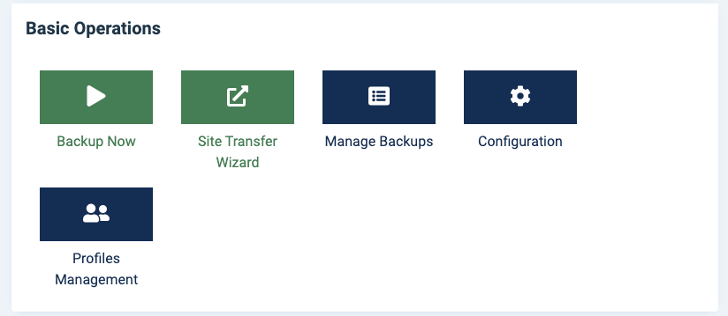
Click on “Manage Backups” to see a list of all recently created backups:
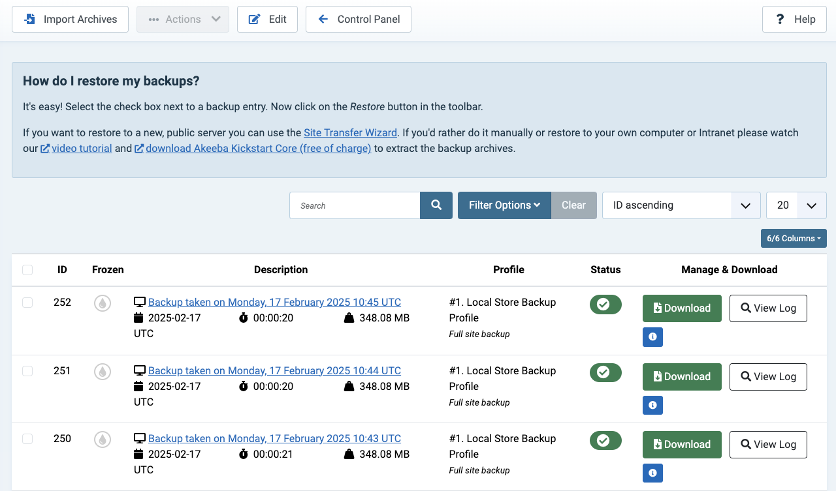
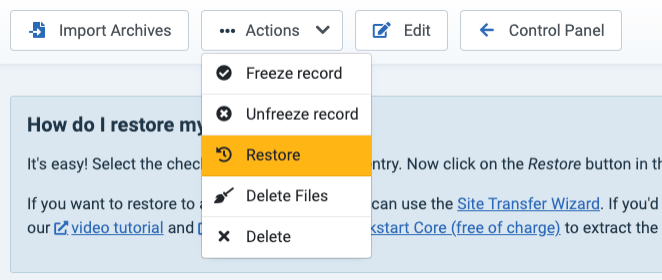
Select the check box next to the most recent backup entry which has the Local Store Backup Profile (example ID number 252 in the image above). Now click on the Actions > Restore in the toolbar.
A Site Restoration page will appear which indicates that you're backup will replace your existing site with the snapshot captured in the backup you have chosen. It also indicates the backup that you have chosen and when that backup was taken so that you understand which one you are going to be applying. The backup process uses a program called ‘Kickstart’.
Protecting the Restoration Process
There is only one setting which we recommend that you change before you start the restoration process and that is the “Enable Stealth Mode while restoring”. The default setting for this is to be disabled (ie, No). If you leave this option as default and perform the restore, then anyone with a web browser can navigate to the website and view the Kickstart process itself or its restoration script. This is problematic on the security front.
Enabling the Stealth Mode will make your site available only to your IP address while the extraction and restoration is in progress. Anyone else visiting the site will see a static HTML page stating that the site is offline. When you clean up after the restoration is over your visitors will see your site normally again.

Starting the Restoration
Click the green Start Restoration button and the process will extract your backup (may take several seconds so be patient) and then you will see the following screen:
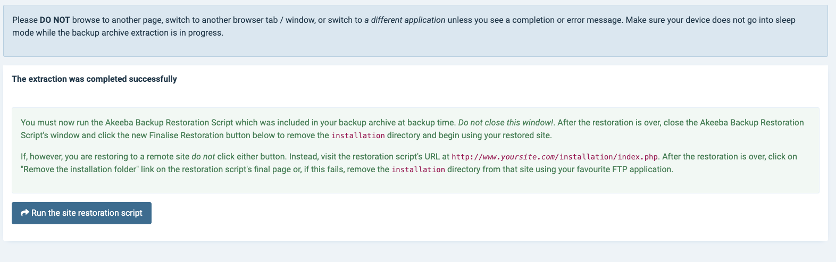
Now, click the button labelled ‘Run the site restoration script’. This will load the restore process in a new window of your browser.
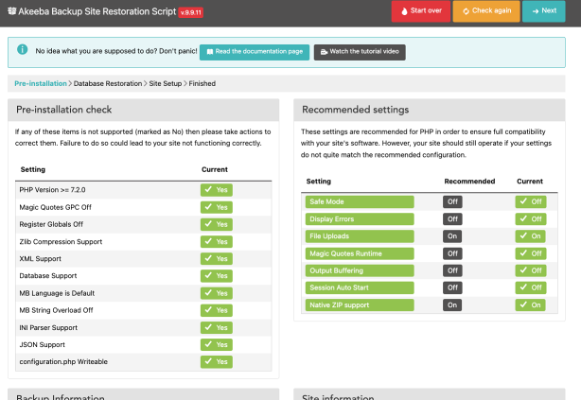
Click Next in the top right tool bar
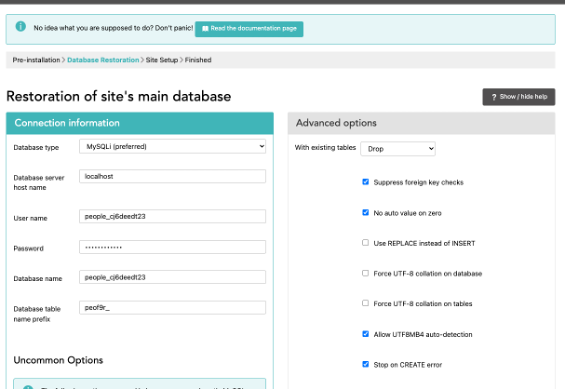
Click Next in the top right tool bar
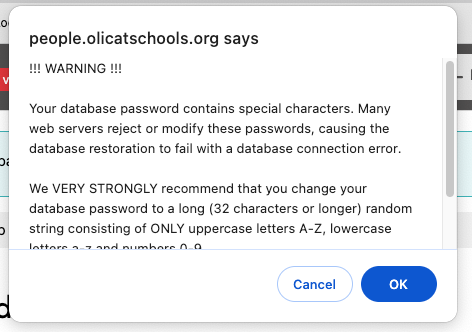
Click OK

Click the Next step button
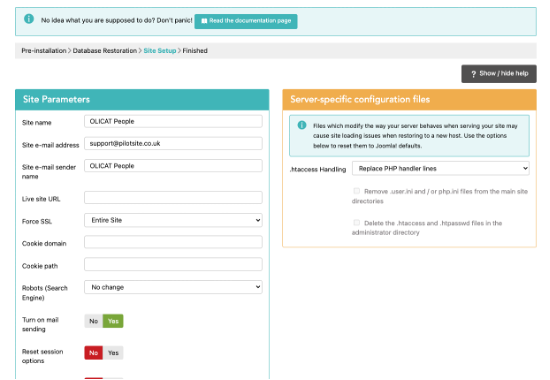
Click Next in the top right tool bar
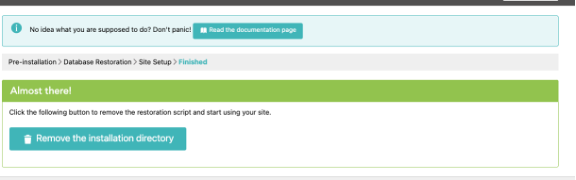
Click the Remove the installation directory button.
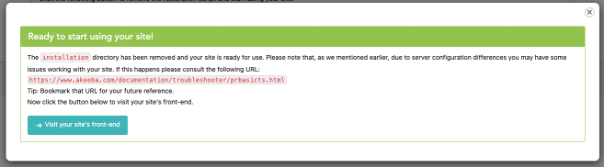
If you see a popup as below (red), close the popup and close the browser window for this screen.

The Site Restoration will still be there and will now show:
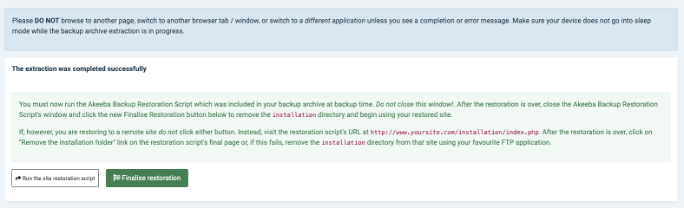
Click the green ‘Finalise restoration’ button. This will clean up remaining activities and will log you out of the control panel. You can now log in and continue as normal and your website will now be restored.