First up, we have Pages. Here, you can access and manage any website pages create with SPPB Pro, perform bulk actions, edit them, and do so much more.
Adding a New Page
To add a new page to your site and craft it with SP Page Builder, click on the “+ Add New Page” button at the top right of yor screen:
This now presents you with a pop-up labelled as "Create Page".

Give a title to your page and hit “Save”.
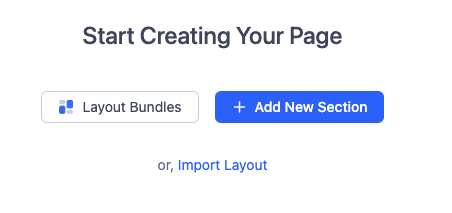
You can now either look at and use an existing Layout using the Layout Bundles button, import a predesigned layout bundle from one already created by you or start designing your page from scratch. We will simply use "+ Add a New Section" to create a page from scratch.
Clicking 'Add a new section' will show you a pop-up which asks you to choose the layout of your first section. It can be full width or can be divided into different columns. Choose the one which is most appropriate for your layout.
In this example, we'll choose a layout which is two columns side by side, 6+6. Then click the Generate button.

You'll now be presented with your empty page showing the title and two columns side by side.
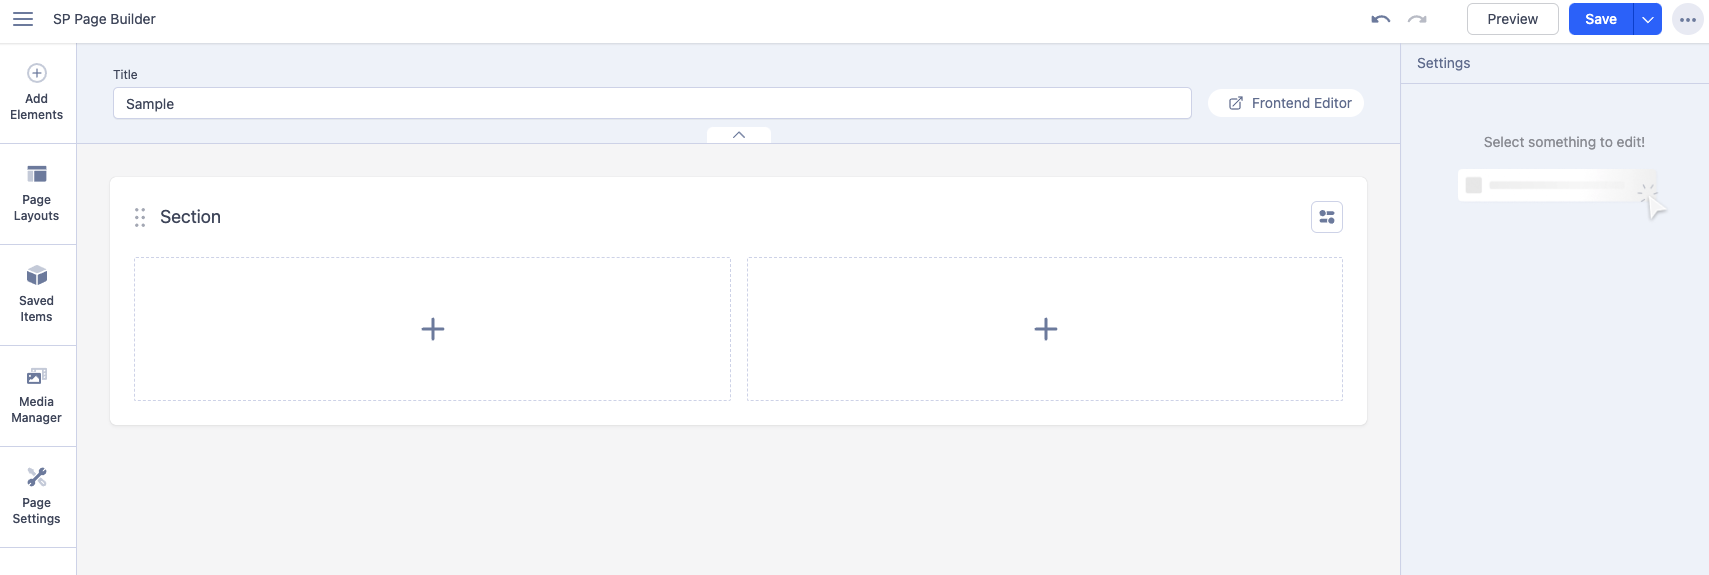
Rows (aka Sections)
Rows give you an initial horizontal structure to your page where you can apply styling to an entire row or add new add-ons into it, such as Columns, Text Blocks, etc.
When you create your new page, it automatically adds a row for you and gives it a title of "Section". You can rename this title quite easily. This way, you know exactly what that row contains. More on this part later.
How to Add Rows (Sections)
Hover your mouse over an existing section and a button will appear at the bottom labelled "Add Section".
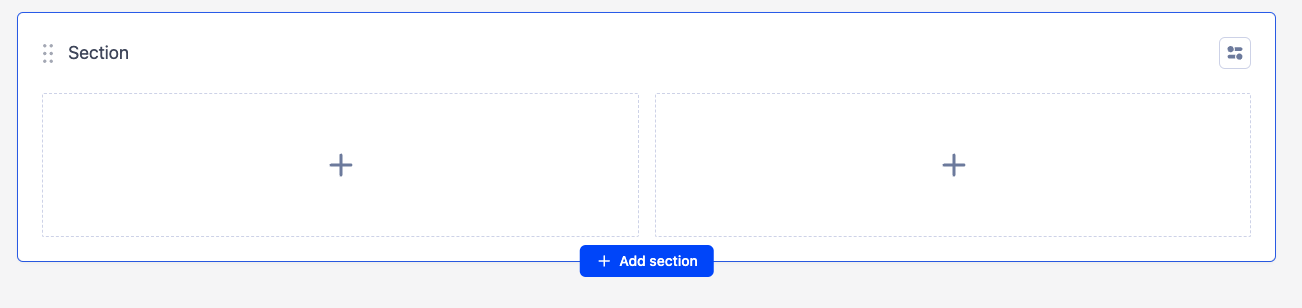
When you click this button, a pop-up will appear asking you to choose how many columns you want in your new section, just as we described above. This brand new section will be added below the existing section.
Columns
Similar to Rows, Columns are Structures that help build the layout of a webpage. Using the help of Columns, a single Row can be divided into multiple Columns and each of these Columns can hold different addons.
How to Add Columns
Columns can be added to a webpage in two ways. The best and easiest way is to click on the Add New Row button as shown above. You’ll find this button appears after every section of your page so click on the one where you want to place your new Columns in a new Row. This will pop up the column generator for you.
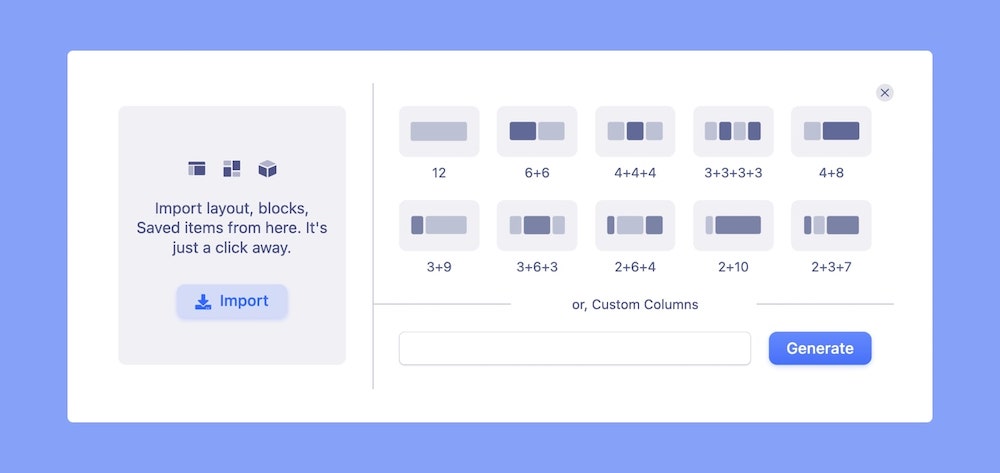
On clicking, the Column Generator panel will open up. Here, you’ll find several Column Structures to choose from. You can also generate a custom Column Structure using the field at the bottom.
Simply select the option of your choice and it should be added to your page!
Adding Elements to Columns in a Row
Once you have created your Rows (sections) you can now add your preferred elements to any columns you added to it - these elements are called Addons. Navigate to the SP Page Builder Sidebar and simply choose your required addons. Drag and drop the addons inside the blocks in the rows according to your requirements.