A Logo Carousel is a row on your website which displays one or more logos associated with accreditations or awards that your schoolmate have been given. The carousel can hold an unlimited number of logos, and when the number of logos is large, they will scroll across the page rather than all trying to be crammed into one row of your web page. Such a carousel will look something like this.

Where possible, we add these carousels to your website by creating modules. Below we describe the process of editing these modules to add or remove logos.
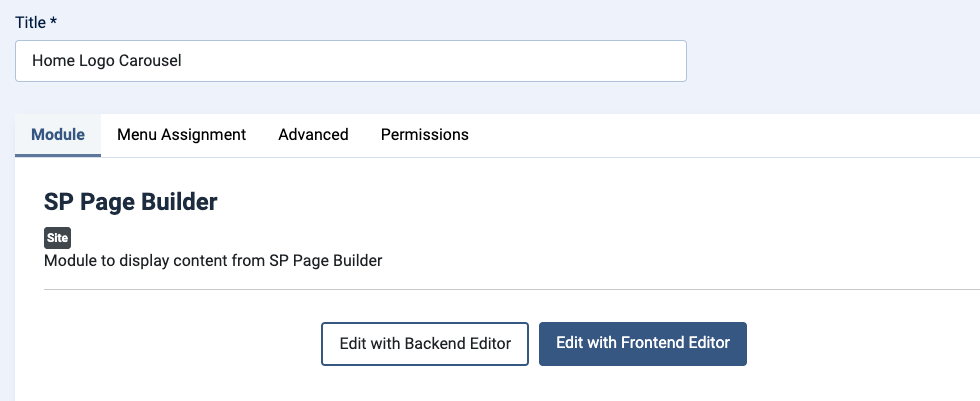
Once logged into your control panel, go to Extensions > Site Modules, then search for "Carousel". Only one result will be returned, such as in the example below.

Click the title of the module to put it into editor mode. The two buttons are labelled "Edit with Backend Editor" and "Edit with Frontend Editor."We recommend in this case, always click the white Edit with Backend Editor button.
You will now see the following display:
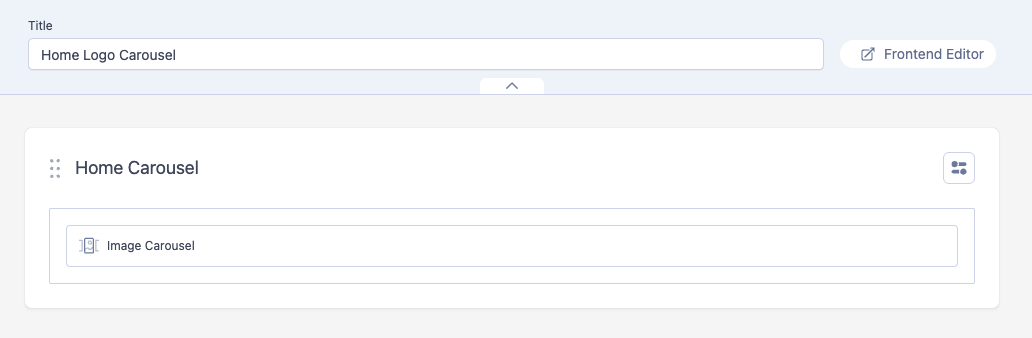
Click the 'Image Carousel' box so it is shaded in pale green to show its selected:

You'll notice now that the sidebar on the left is populated with information related to this carousel - Look in particular at the top section labelled 'Content'.
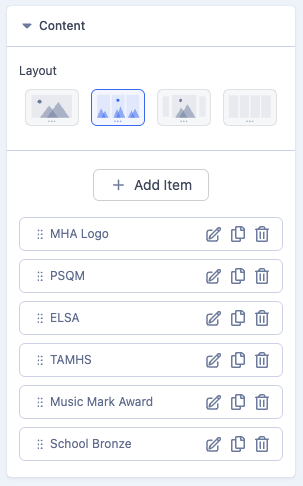
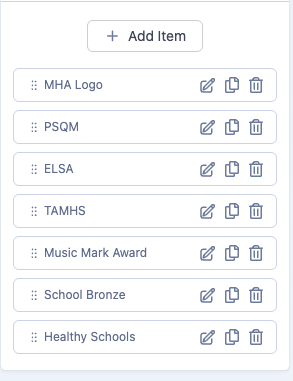
You can see that this carousel already has six items in it.
Remove a Logo
To remove one, simply click on the trashcan associated with it.
Add a new logo
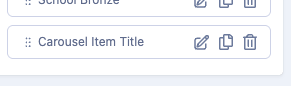
To add a new logo, click on the Add Item button at the top of the list which will create a new item at the bottom of the list labelled "Carousel Item Title"
Now click on the pen icon to edit the new item. This will open the settings for the new item:
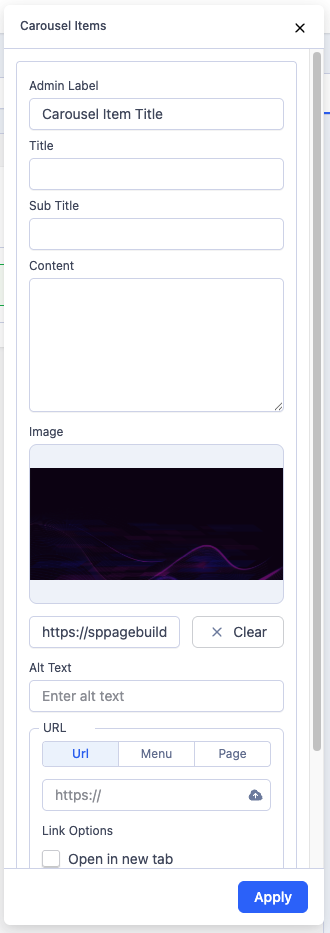
You need to edit the following fields. If not mentioned here, you can normally leave as default:
- Admin Label : Change this to the correct name for your new logo.
- Title: Leave blank.
- Subtitle : Leave blank.
- Content: Leave blank.
- Image: Hover your mouse over the black graphic to see the following.
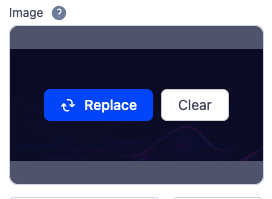
- Click 'Replace' and the pop-up window will appear.
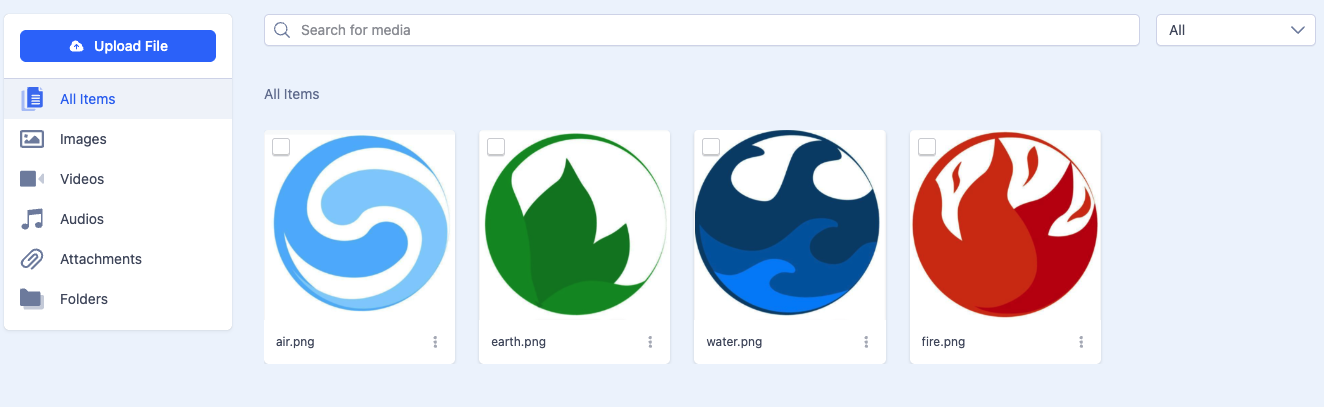
- Click the upload file button and upload your logo.
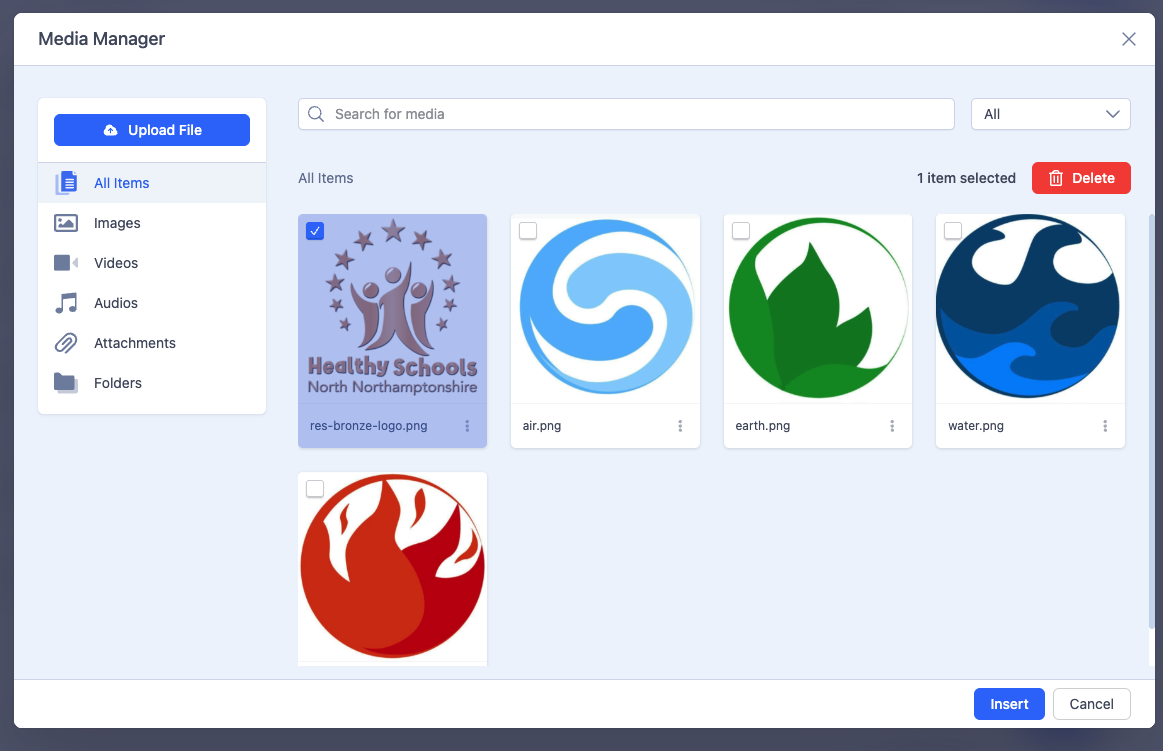
- Once uploaded, click the tick box next to your uploaded logo and click the insert button which will appear on the bottom right.
- Your uploaded logo will now appear in the image panel.

- Click the blue apply button in the bottom corner.
- Your new item will be seen at the bottom of the list.
Saving the Update and Closing the Edit
Now, click the down arrow next to the blue SAVE button and you'll see "Save and Close" in the top right corner of the screen. Click this option and you'll be returned to the module where you can click Save and Close again.
Having done this, your new logo will appear on the bottom of the homepage or anywhere else where the logo carousel has been displayed.