Let's assume for a moment that you already have a slider that's set up to display on your home page (or elsewhere for that matter) and that you need to remove or add a slide image to that slider.
Your first step is to go to the Smart Slider component, go to Components > Smart Slider 3.
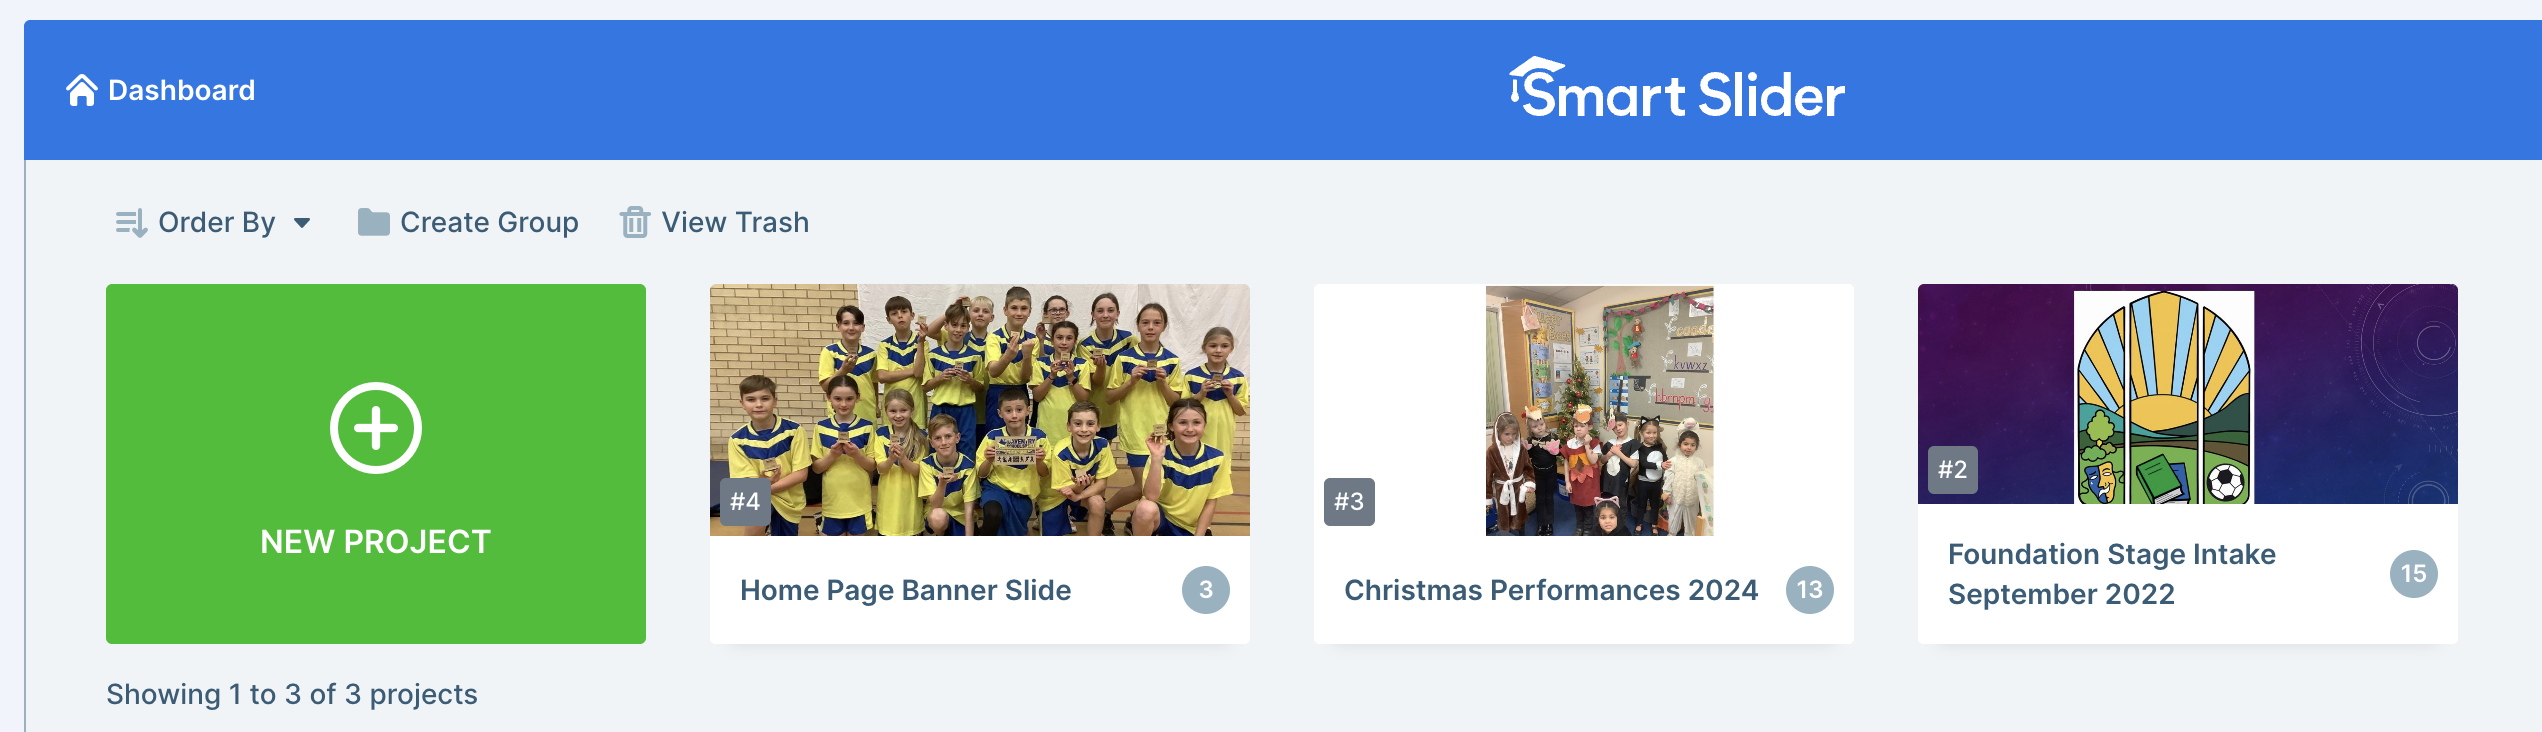
The first thing you'll see will look something like the image below, where you have the ability to add a new project or you'll be able to see existing sliders that have been created for you. Each slider has got a title, and the title should reflect the content of that slider. If we assume that you wish to now make some changes to the slider which is titled "Home Page Banner Slide In our example below, simply hover your mouse over that thumbnail and you'll see an Edit button.
11.5.1 Removing Slides
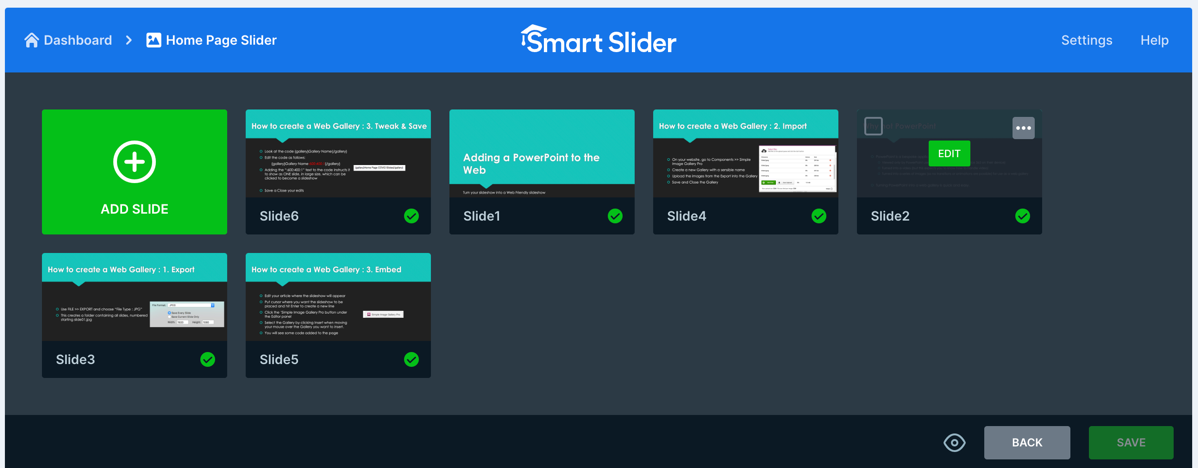
When you click the edit button for a given slideshow, you'll see the individual slides that it contains:
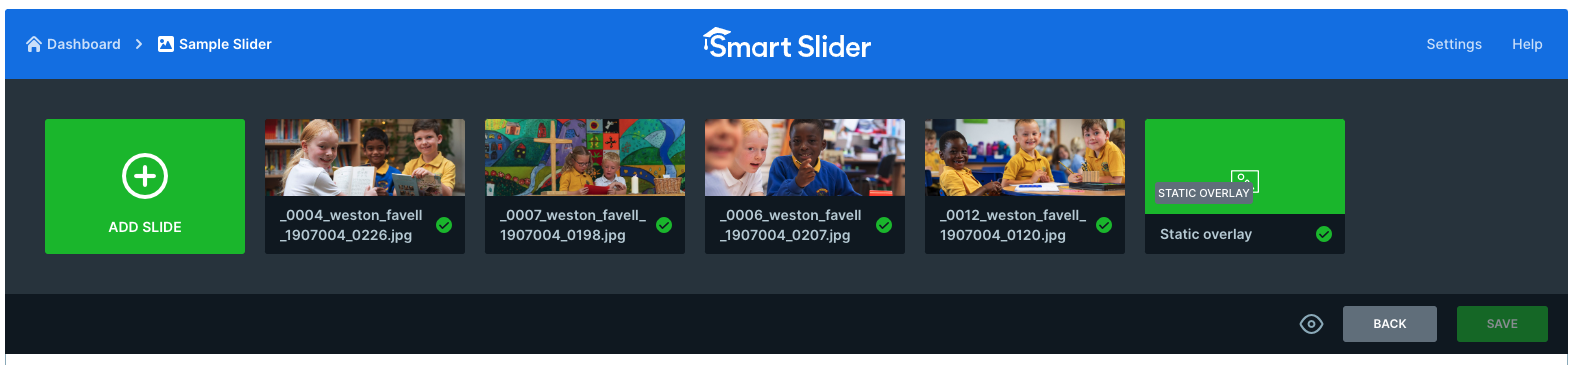
Looking at the example above, we see 4 picture slides and a single Static Overlay slide. To DELETE one or more slides hover your mouse over a thumbnail and you will see a select box (tick box) appears in the top left hand corner. Tick this box and then perform the same action on any other that you want to remove.
When you do this, all slides will be greyed out and this is normal - It's just the way that the system says one ore more slides have been selected.
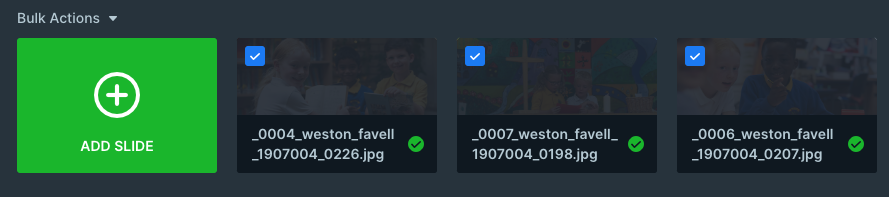
You will now see an option above the left hand green slide labelled Bulk Options.
Click on this and a dropdown will appear where you can choose what you want to do.
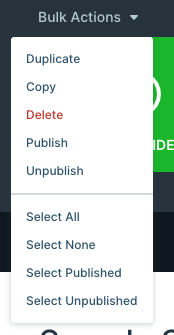
To delete, obviously choose the delete option. If you wish to switch off certain slides without deleting them then you can choose the unpublish option. The other choices in this dropdown are fairly self-explanatory.
When you have removed the images you no longer wish to see you can then use the add slide option to upload your new slides.
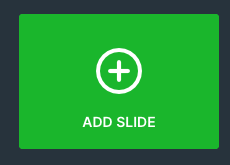
When you have a slider with slides already in place but you wish to add more slides to it, click the “Add Slide” button to see a choice of slide types:
11.5.2 Adding New Slides
Let's imagine that you now want to add one or more new slides to your slider.Click on the "Add Slide" button at the top left:
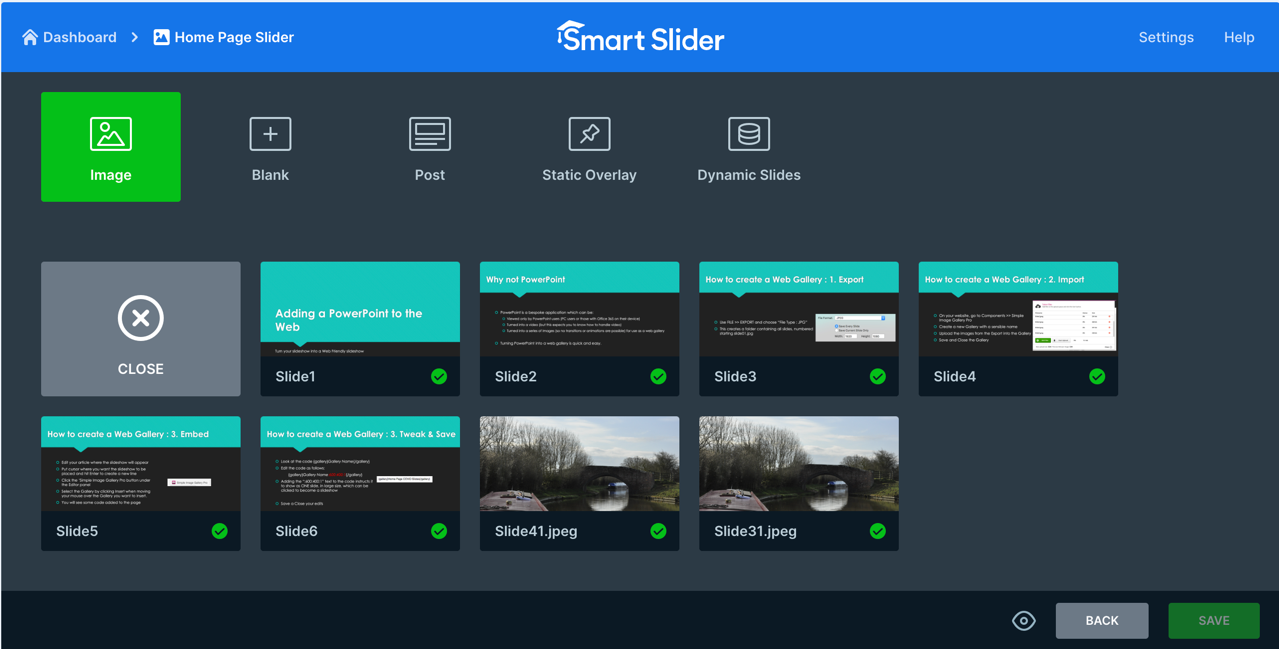
You now have a series of options available to you:

The icons above relate to specific types of slide as follows:
Image (Default): Allows you to upload an additional image to be displayed in your slider and this is the most common option when changing pictures that are on your slideshow.
Blank: Creates a new blank slide that you can use for other purposes
Post: Allows you to add a slide that will display an Article from the available articles in your site
Static Overlay: Creates a slide that is transparent and will sit in front of your slide show and can hold text and images that are static while the images transition below it
Dynamic Slides: Not used.
As metioned, the most common of these choices is “Image” which is where you add a new image to a new or existing slider.
11.5.3 Adding an Image Slide
Before you go any further, look below the thumbnails panel to see information like the following:

Note that the Slider has automatically been given an ID, in pur example above, the ID is 3. Yours may/will be different but whatever the number you see, memorise it as it could help you in the next step.
Click the green Image button. A screen appears which shows all existing images and image folders in your website. Look for a folder labelled “sliderX” where X is the ID number for your slider. For us we are Slider ID:3 so we look for a folder labelled slider3:

Don't worry if you can't find one that relates to your slide number but if you can find it click into the appropriate folder to see all images that have been uploaded to that slider so far:

Now, Drag and drop your new file(s) [multiple images can be dragged and dropped at the same time] into the dotted box labelled “Drop files here":
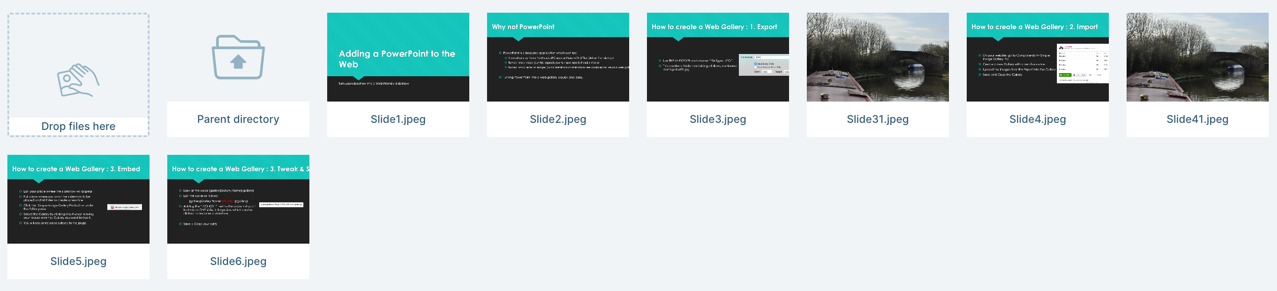
We uploaded a couple of almost identical canal photos (slide31 and slide41) and they are now ready to be added to our slider.
To include one or more of the uploaded photos into your existing slider, simply click one or more images so that a blue coloured border appears around it or them and then click the “Select” button from the top row.

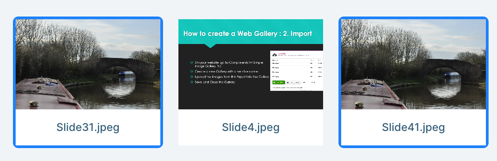
When you click Select, the Select Image screen will close and your chosen images will appear in your slider screen:
11.5.4 Sequencing your Slides
Slides are uploaded and dropped into the slider panel in no specific order (Slide6, Slide1, Slide etc). to put them in the correct order that you wish, you can click and drag the slides into the correct sequence if it’s important to you to do that: