Once you have captured and (if needed) edited your video clip, the process of adding video to an article has two major steps:
- Upload the video to YouTube to obtain a unique URL for the video
- Add the URL to your article
Uploading Video to YouTube
Every school has a YouTube channel if they have a Google account because Google provides a YouTube channel as part of your account for you.
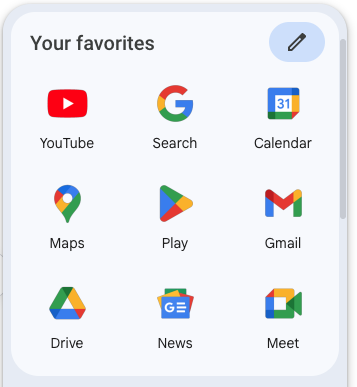
The first thing you need to do is to login to the Google account for your school and once logged in, use the application's icon in the top right and click on the YouTube option:
your website URL in the browser address bar will now change to something like https://www.youtube.com/?gl=GB
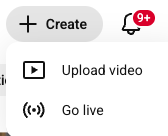
Next, click on the Create icon which presents you with two options to Upload a Video or Go Live (a live stream)
Not been here before?
If this is the first time you have used your YouTube channel, you will likely be prompted to create it. A channel is where all of your videos will be stored. Follow the instructions on the screen until you have completely created your channel and then you can move onto the next step below.
When you click the Upload Video option, an Upload panel appears:
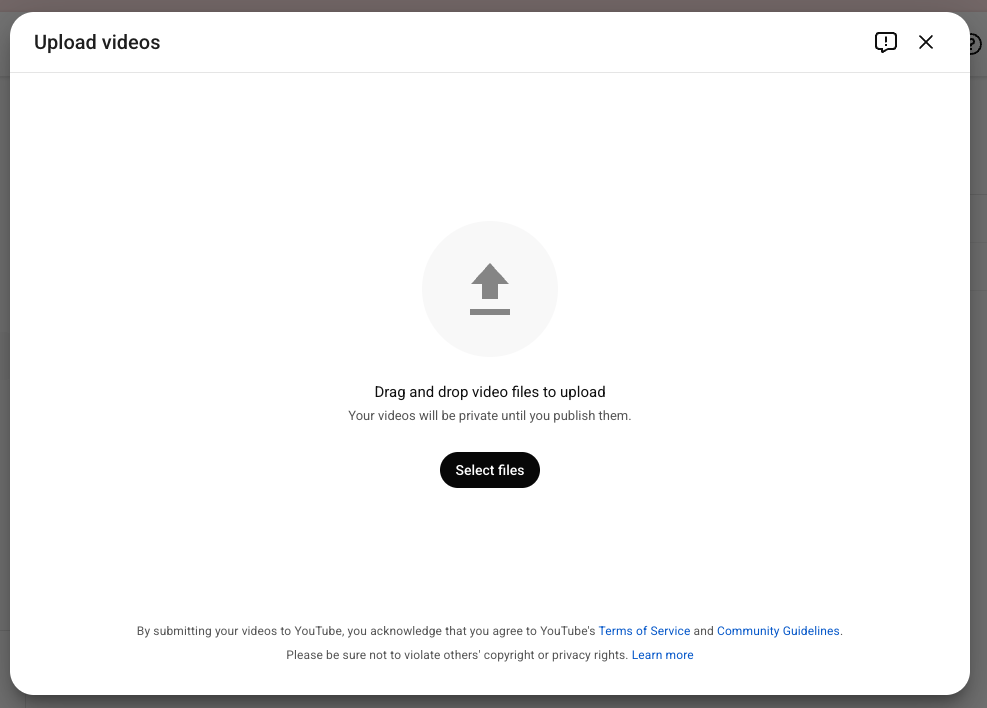
Click "Select Files" or drag and drop your video(s) into the panel and it/they will start to upload.
You can add more than one file at a time if you need to, it will just take longer to upload and will keep you waiting.
As soon as you have chosen the first file, it will start to be uploaded and then it will be processed. Depending upon the size of your video, the upload and processing activity duration could take several minutes so please be patient.
If you close the window halfway through the upload the video will not complete.
Be patient! Large videos can take several minutes to upload!!
Once the upload starts, you will see a new panel appear and it will have the file name of your video at its heading. Its a good Idea to give your video an informative title - not too long though! We're using the title "Sample Video".
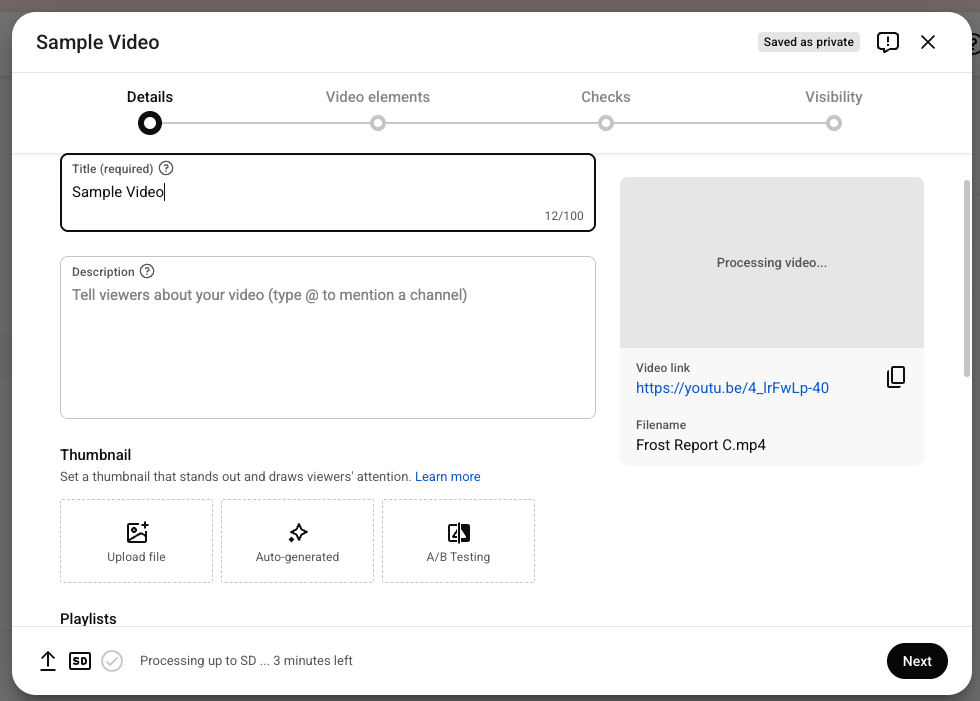
As you look at this panel, further down you will see a section for 'Description' and for 'Playlists'.
If you have or want to create a Playlist (to hold related videos), you can assign or create one here by clicking the Playlist pulldown-option:
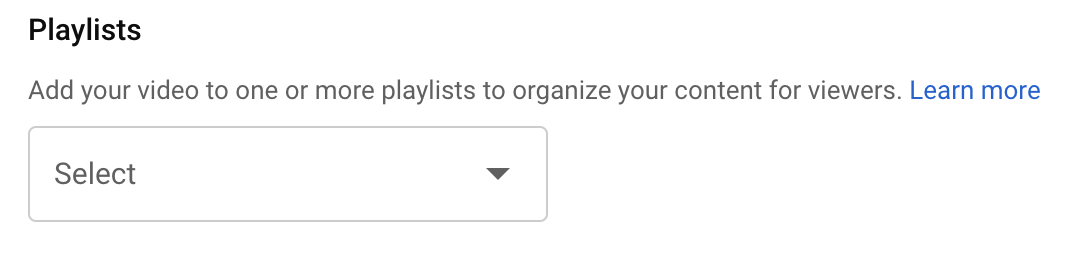
In my example above, I might add videos for a particular project and always tick the playlist tick box for that project (or create a new one for it)so that later I could display all of those videos on one page.
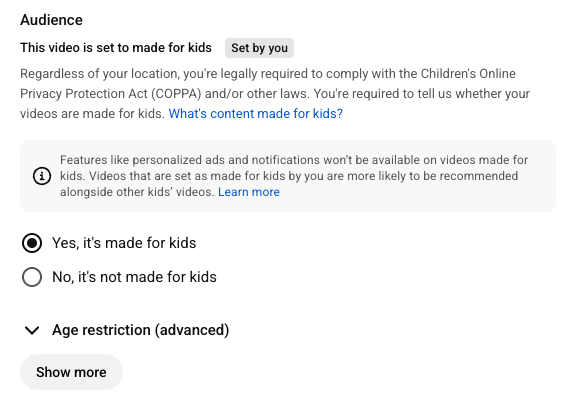
You will also note an area related to Audience. We suggest that you always choose "Yes its made for Kids".
Now, click Next.
The next page is called Video Elements which is for more advanced use so you can bypass this page and click Next.
The next page relates to Checks. Again, you can bypass this one for now and click Next.
Copyright
One thing to watch out for is if you're uploading video which contains a soundtrack which belongs to a company or an artist, then your video might be blocked if it contravenes copyright regulations for that company or artist. Ideally, therefore, avoid uploading content which includes music soundtracks.
The third and final panel is labelled Visibility, where you choose when to publish and who can see your video.
Set the Save or publish option to Unlisted.
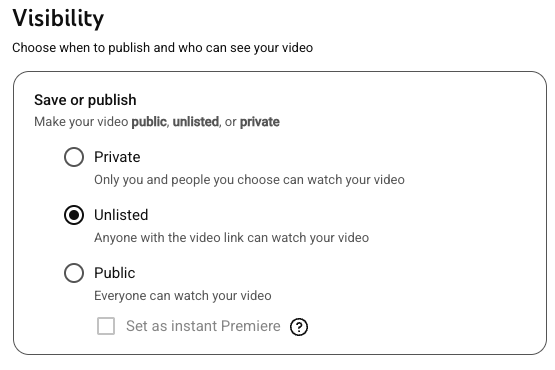
What this does is ensures that videos which you add will not be available in the YouTube search facility. It will however allow you to add the video to a webpage by embedding its URL address.
Things to note
Getting the video URL
You will notice that as soon as the upload starts, you'll be given a video link, shown on the left-hand panel of the window:
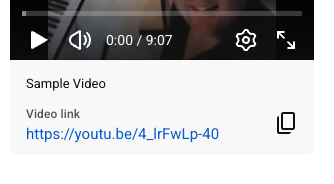
This is the URL that you will add to your web article!
Use your mouse to select and copy this entire URL or click the copy icon.
Other YouTube Settings
Thumbnail
When the video has completed uploading and processing, YouTube will choose three thumbnail frames at random to be used as the 'poster frame' that you see when the video first loads and before you play the video. You can choose a thumbnail from those offered in the display. You can also create your own thumbnail and upload it if you need to do so!
Video Description
The video description is not mandatory but it is very important that you give your video a suitable title which tells the viewer exactly what the video is about. If you don’t, the video file name will be used by default and if the video filename is 23_09_2020.MOV, that will be a somewhat ugly and meaningless title!
Now that you have uploaded, processed, thumbnailed, titled and maybe described your video, you can click the DONE button and you'll be presented with a window to show the video is bing processed etc:
You can click Save at this point.
You can now switch to your website as you are ready to add the video URL to an article.