Creating a or editing a form with Convert Forms is a refined and easy process. Regardless of your technical knowledge, you'll find that it is quite easy to be up and running within minutes.
Convert Forms' goal is to be able to create forms without having to know any kind of coding. If you know some coding, you can use it if you want!
The Form Builder provides a great deal of flexibility on how you'd like your form to appear on your website. What's unique about the Form Builder is that the end result will be pretty much exactly as you will see it on the website. The only way for the form to appear slightly different on your frontend is if the site template has taken some extreme measures style-wise and overwrites everything, but that's very rarely the case.
The sections of the Form Builder
The Form Builder consists of the Fields, Design, Behaviour, Tasks and Submission Options at the left of your screen represented as icons.

We have a separate page dedicated to the Fields section.
Depending which icon is selected will determine what further choices are given (see below).
There is a Preview pane at the right of your screen. In the preview you get to see the changes of your form LIVE. This means that the changes you do through the Design Options are being taken into account instantly.
The Design Options
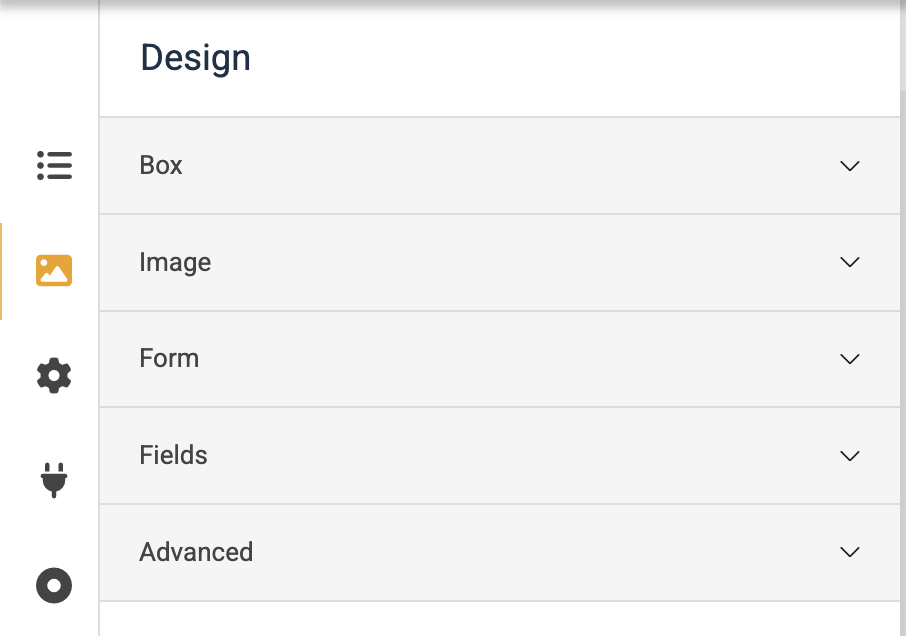
- Box: This part is responsible for the entirety of the form along with its informational part, which is a combination of a text and an image. Here you are able to name the form and style it with almost any styling option available.
- Image: Together with the text you can choose an image to accompany your whole concept. An image is word a thousand words they say and we believe them 100%!
- Form: In this part you are able to choose a layout for your form and position it in relation to its informational part. Just remember that the actual form is the collection of fields and that is what you are able to adjust in this part.
- Fields: this section allows you to set colours against field backgrounds and the text on those fields. We recommend leaving these as the defaults
- Advanced: Finally, the Advanced part is for our fellow developers who would like to add their own flavour of CSS and Class suffixes. Of course there's also the option of adding a Form Footer which basically is a way to add a bit of text at the bottom of your form.
The Behavior Options
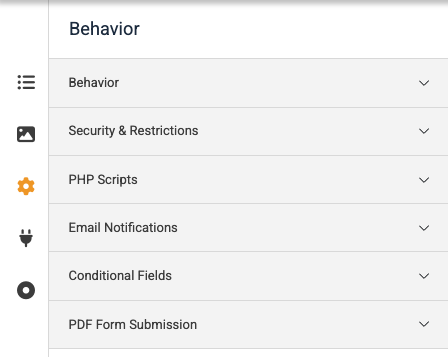
The Behavior Options contain the following sections:
- Behavior: Allows you set the status of your form(Published or Unpublished)
- Security & Restrictions : Here you set whether to use the Honeypot anti-spam system which is enabled by default helping you get rid of spam messages.
-
PHP Scripts: Convert Forms contains 4 sections that are triggered on certain events. These are Form Prepare, Form Display, Form Process and After Form Submission. These sections help you add your own PHP scripts to run based on events that you are interested in. These are sections which are only used by experienced PHP coding team members.
- Email Notifications: Create multiple email notifications for you and your users to receive whenever a user submits a form.
Note that the email notifications function has now been superseded by Tasks, which I described further in this user guide (section 10.4).
Tasks
Tasks is a very detailed section and has a page dedicated to itself.
The Submission Options
The option here is to assign the form to a campaign you've previously created. In general you don't need to do this as its preset for you.
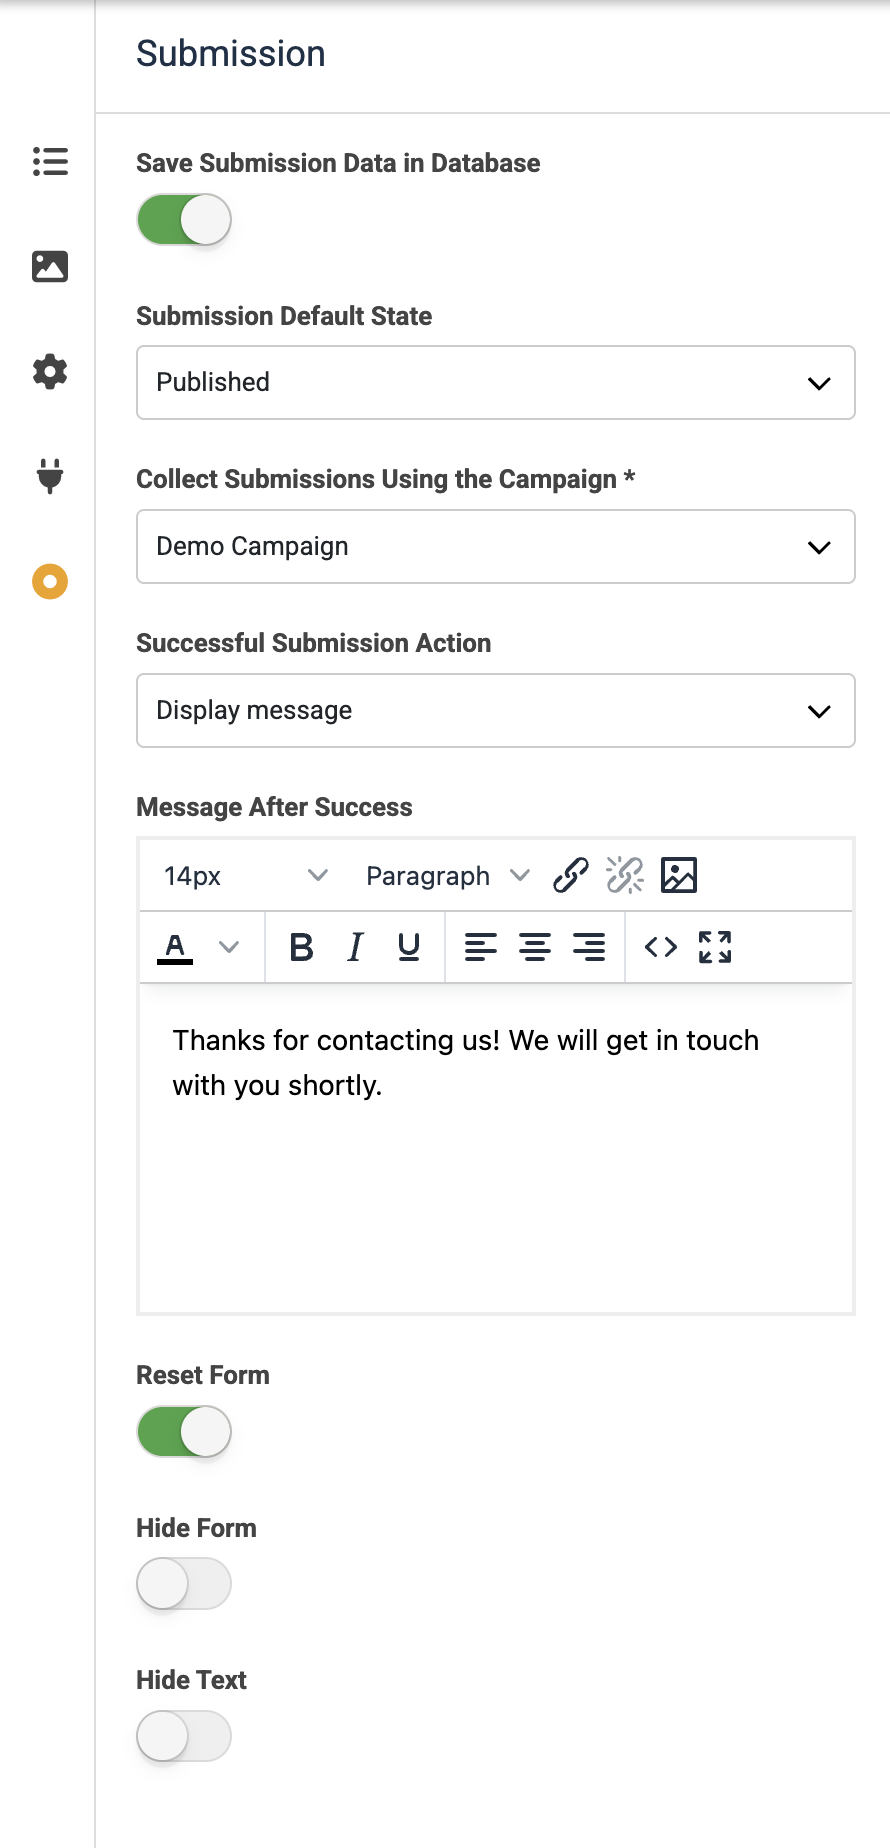
You can also choose what the form should do once it is submitted. The most common approach is to display a success message. You can edit this message in the "Message after success" panel.
Finally, click the green Save button to save all of your changes.