A very cool result of exporting your images using PowerPoint or Canva is that the slides are automatically optimised! A hi-res photo that is 6MB becomes a slide of only 500KB or less once exported!
Using PowerPoint
We need to assume that you are familiar with PowerPoint (PPTX) and so we will dive straight in to creating your slides and the first thing we do is to set up your slideshow to be the most suitable size for your website slides.
Setting the best slide size
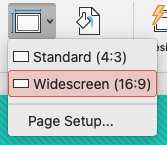
In PowerPoint, use the Ribbon and go to Design > Slide Size and choose Widescreen (16:9):
Find and add images to PPTX
Now, identify the great quality pictures which are a suitable size to be added to slideshow. These should be direct from your camera device and ideally should be almost the same size or larger than the PowerPoint slide.
Add an image, one per slide, to your PowerPoint, don’t worry if the image is larger than the slide, we can sort that out next.
Position your images in PPTX
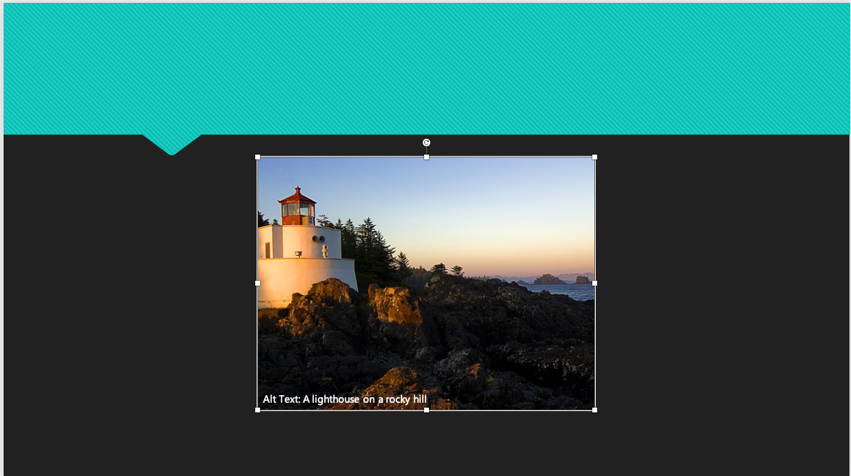
When all of your images are added to your slides, move the images around in the slides by resizing them so the image fills the slide space with no white space left or right, top or bottom.
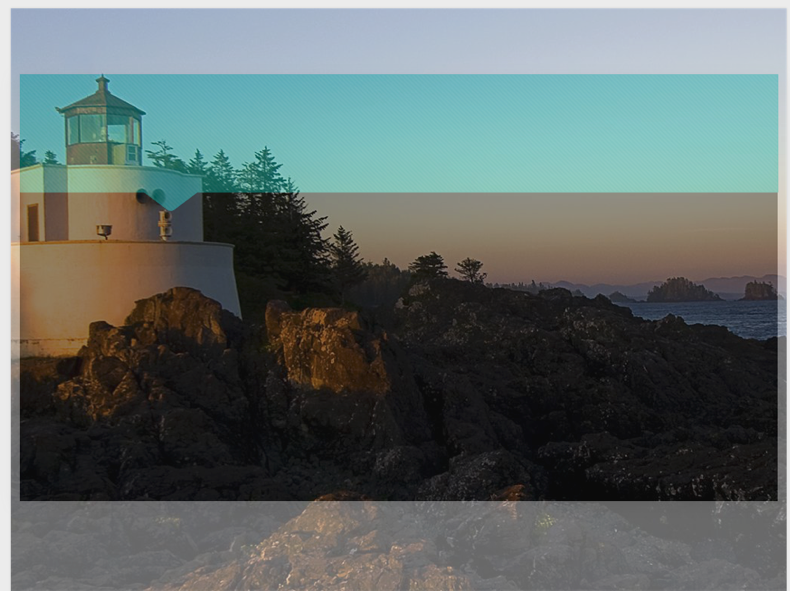
Above you can see how when we stretch the image to fill the slide space, it overlaps at the top and bottom (we set the image to be semi-transparent so you can see it happening).
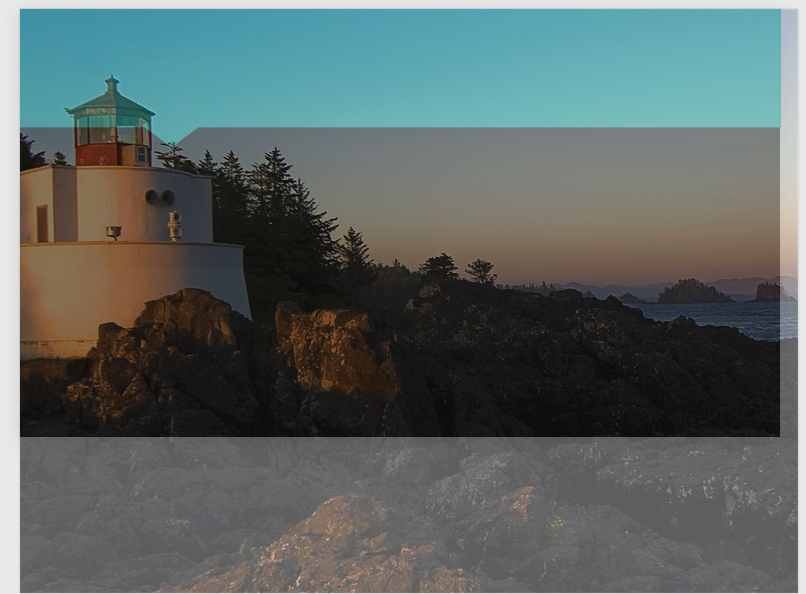
When this happens and we export the slide, it will export ONLY the slide area and the upper and lower image areas are cropped out. So, move the image to be sure the parts of the photo will not be cropped:
Pixelated Images
If, once resized, the image has become pixelated, then don’t use that image as it will look pixelated on the website. This will happen if you try to use a picture that is too small!

Once all images are positioned properly in each slide, its time to export them for use on the website.
Exporting Images from PPTX
Use File > Export and choose “File Format : JPEG”
Choose “Save Every Slide”
Set width to 1920 and height to 1080.

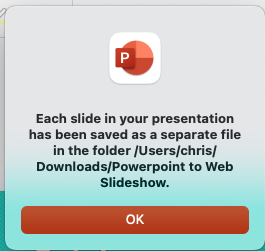
Then click “Export” and a pop-up will inform you that a folder will be created containing your slides, numbered starting slide01.jpg.
If you navigate on your PC you will now find a new folder in the detailed directory and it will contain a number of images.
Using Canva
Resizing and cropping to specific dimensions in Canva is straightforward, but the steps slightly differ depending on whether you have a Pro or Free account.
Since your goal is a specific size (for example 1920px x 1080px), here is the best way to handle it:
Steps to Resize and Crop to 1920x1080
-
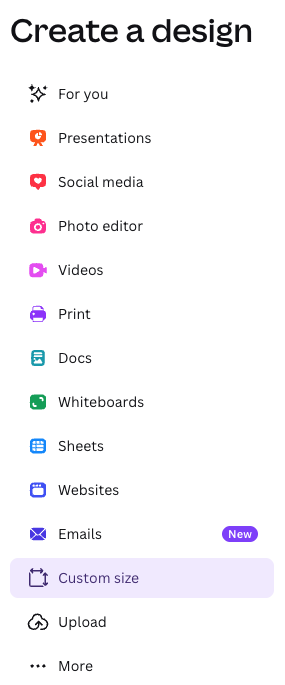
Create a Custom Size Canvas: Instead of opening the image first, click Create a design in the top right corner and select Custom size,
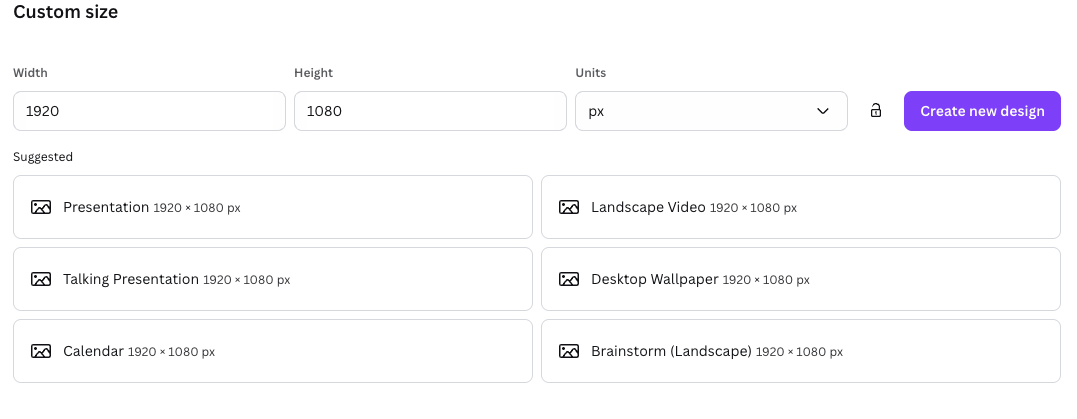
This will show you the Custom Size option chooser:

-
and enter
1920for width and1080for height and px for units and click "Create new Design" or choose the pre-sets that appear (example Presentation 1920 x 1080px)
The screen now shows you a frame that is set for your image,
-
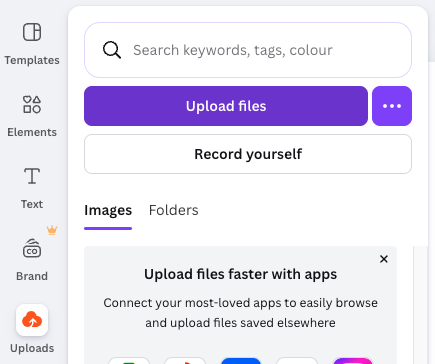
Now use the Uploads icon and click Upload Files
-
Your uploaded file will appear in the thumbnail box (see the Bridge images)
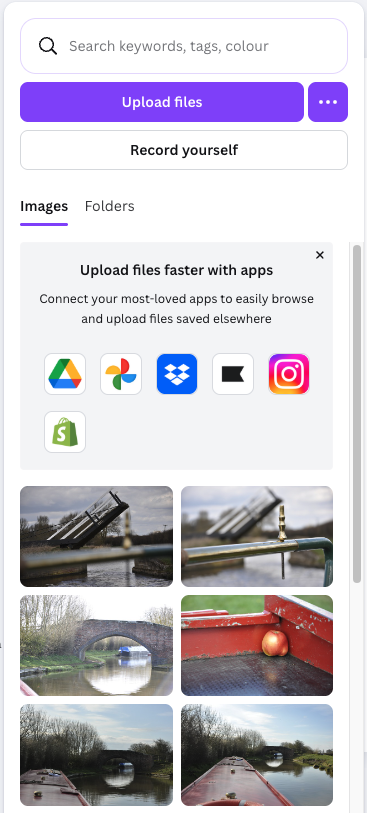
- Click an image and it will be added the frame
-
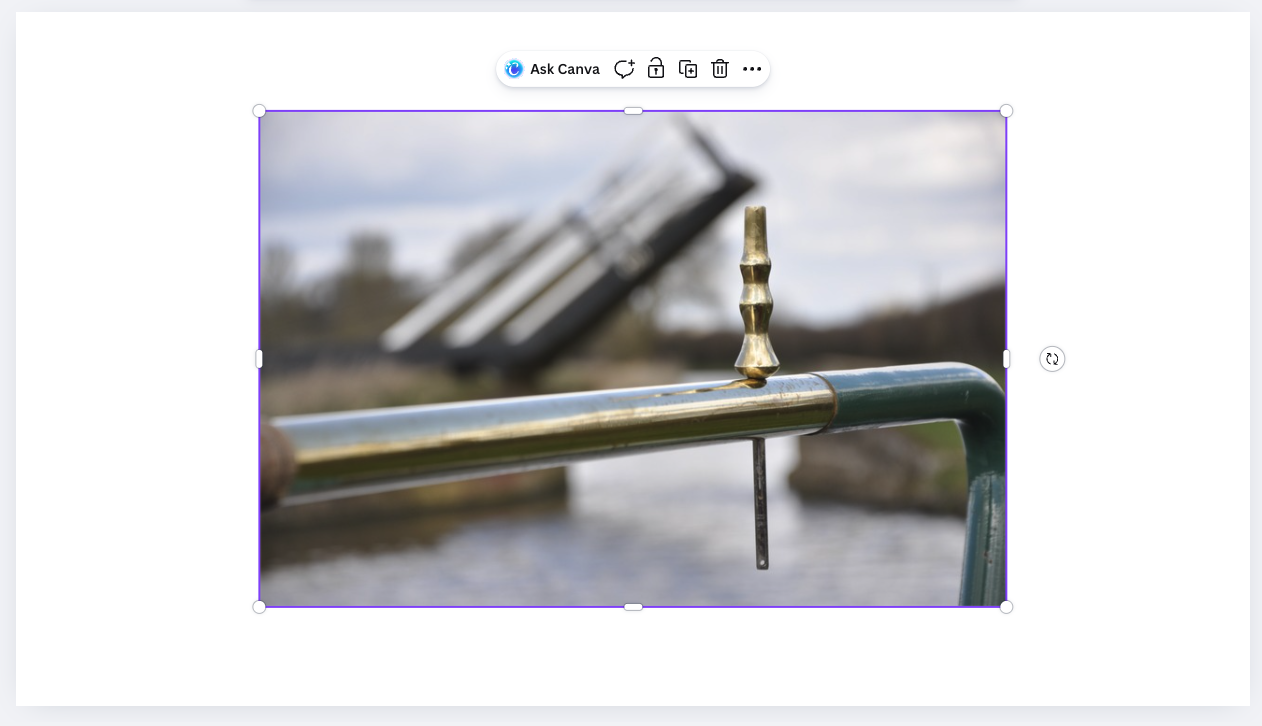
Scale to Fit: Right-click the image on your canvas and select Set image as background. This will automatically scale the image to cover the 1920 x 1080px area.
-
Adjust the Crop: Double-click the image. You can now slide the image around or pull the corners to ensure the exact part of the "large" photo you want to see is visible within the frame.

-
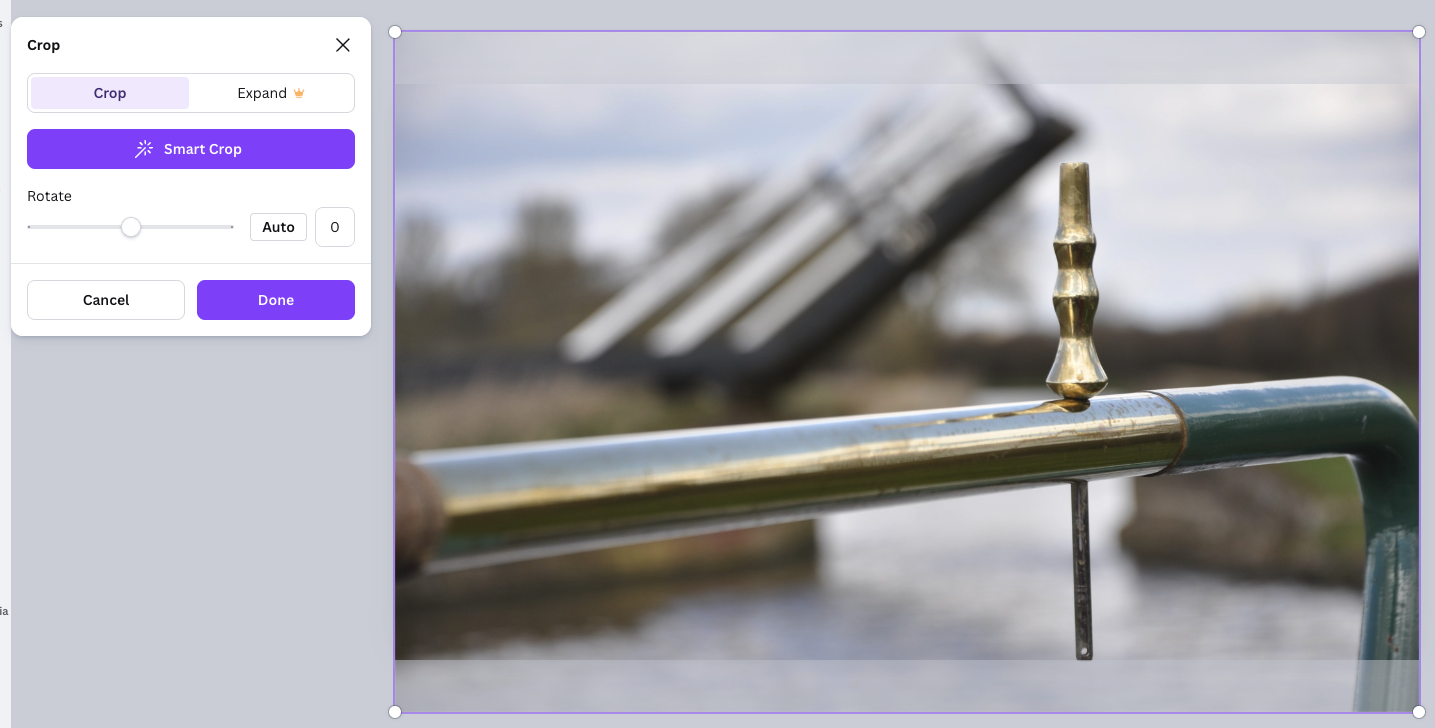
Fine-Tune with the "Crop" Tool: If you prefer manual control, select the image and click Crop in the top toolbar to adjust the "smart crop" or rotate the image within the bounds.
-
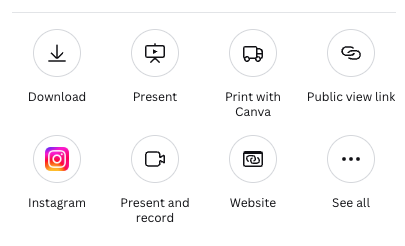
Download: Click Share > Download,
-
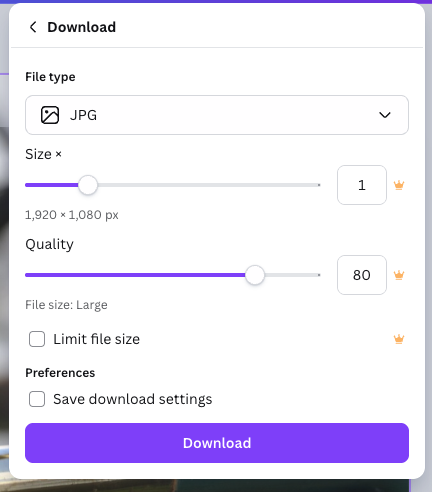
Select JPG
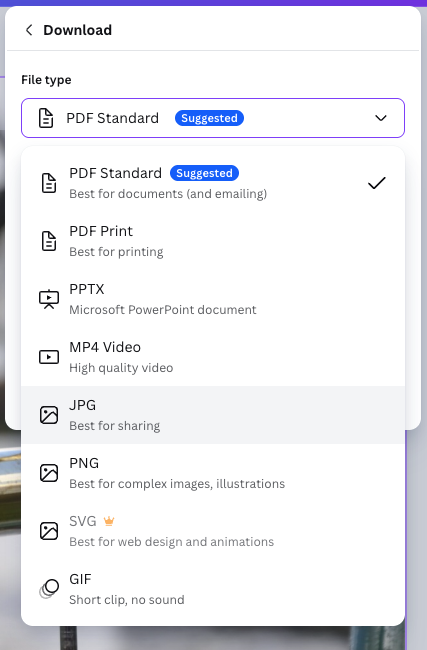
- you will now see the size and quality options. You can normally leave those as they are and then press the download button
- The download file will be given you
- you can now use this JPEG image in your slideshow.