10.8.1 Using other tags
In the default mode, we have preset the fields which are sent to you in your e-mail so that you have a consistent view of the person who sent the message and their details.
This is a more advanced area of work so please tread carefully!
It may be however that you wish to use different information in these fields rather than the ones that we have set for you. For example, let's imagine that we wish to change the field titled From Name in the e-mail notifications area;
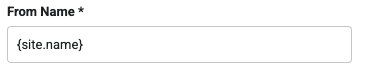
By default, this field contains the following text:
{site.name}
This information comes from the system of the website so if your website name is “Tapiochre Ltd”, this is what will be shown to you in the e-mail as the name of who the e-mail is coming from.
If you wanted to change this to some other text all you need to do is to delete {site.name} and type in whatever you wish to show as the name of the website.
There are however other options that you could choose from which the system offers you. To find out these other options (perhaps if you have customised your form and want to show additional fields) you can hover your mouse over the field to see a small grey tag:
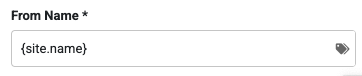
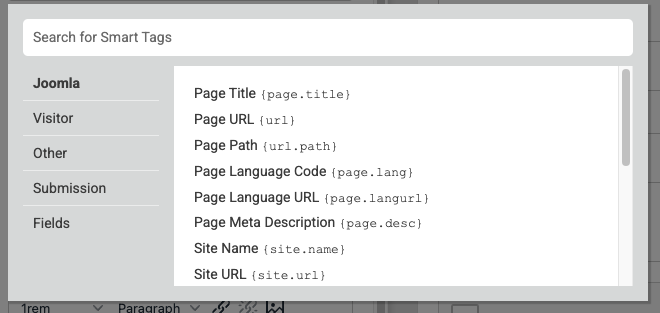
If you click on the tag a pop up appears which allows you to choose one of many different options to be displayed. You can explore the different options by clicking on the choosers down the sidebar of the popup to see what is available in the white panel associated with it. When you find something that you're interested in that you would like to be displayed, simply click on that choice and it will be inserted into your form e-mail notification section.
10.8.2 Where would this be used most often?
Above, we use the Site Name purely as an example but in reality, the use of tags really comes into its own when you are editing the information displayed in the message field:
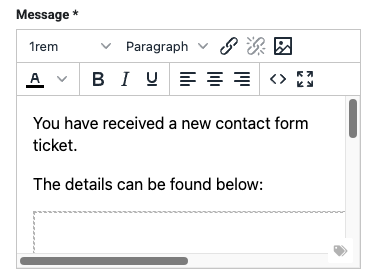
You can scroll left, right and up,down in the message field area to see what is there already and if you need to add a new field data into the message (because you've added a new field to your form), this is where you would do it
This is a simple editor screen and you can click into it and use your cursor to move up or down to allow you to add text and then click on the tag icon which appears in the bottom corner to insert the name or value of a field that you have added to your form.
When completed, your message fields should all be displayed something like this:
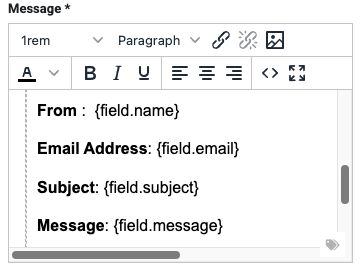
If you need advice on these advanced concepts, call us for support.